I have been 3d printing for a few months now and I have to say it has been a real blast. I have several people at work that ask me questions about my printer how I design things what I use and other questions. I thought this might be a good blog topic since I have not posted in a while and it seems like a good topic to write about. I will try to break it down into a couple sections. The printer I have the software that powers the printing process. The filaments I typically use and the few tools I keep near the printer.
Prusa I3 MK3
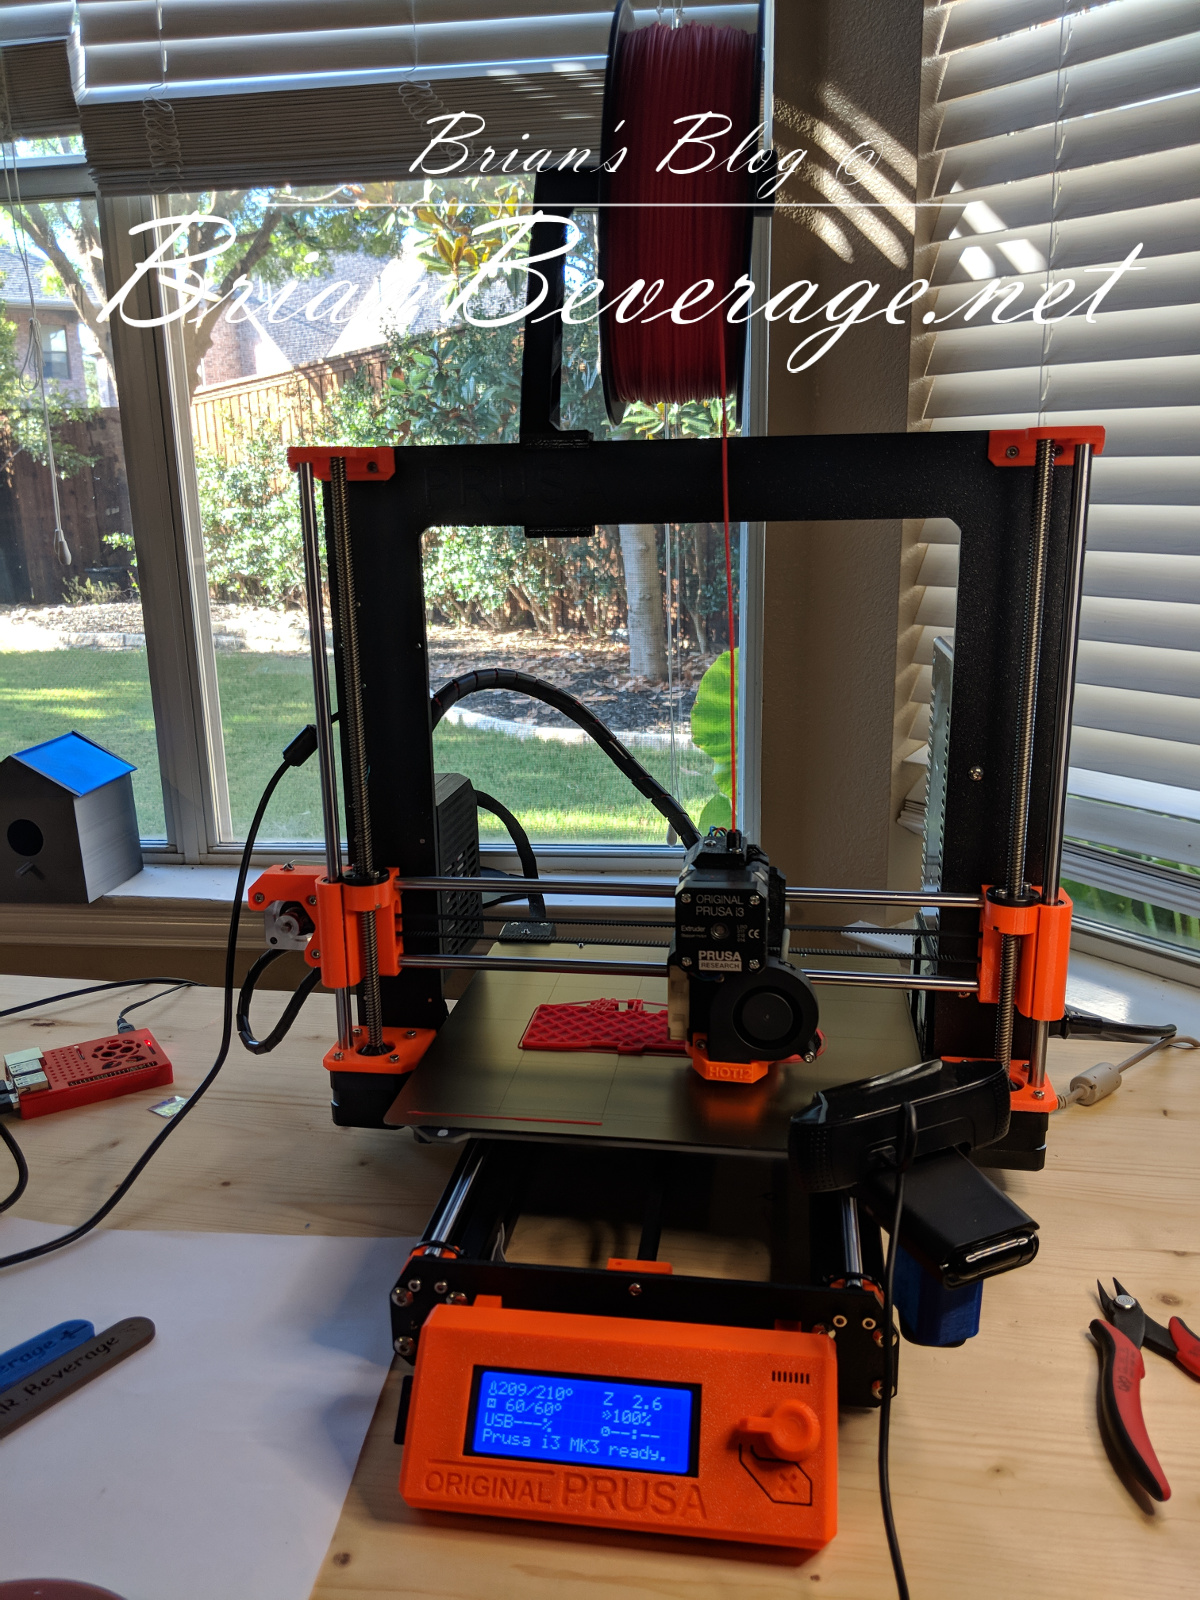
Let me start by I did a lot of research before I settled on a printer and this printer is where I landed. It has been a real pleasure to work with from assembly to printing items I have designed. I have only had one issue with this printer and it was a really nasty clog. That is why they ship the acupuncture needle with the printer. I think that was just a bad roll of filament. I have not had any issues since then. I now have a box of acupuncture needles though so I am prepared! Which btw are hard to get in the US. These come from the UK.
The Prusa I3 MK3 has been a great machine. The assembly instructions are spectacular to follow along with the web version and see what others have done or said about a step. Then you literally just start with section 1. Introduction and work your way through 9. Preflight Check. You do need to take your time to do things right after all you do not want your first movement to be the hot end scraping across the heat bed! 🙁 I also think you get the added benefit of seeing exactly how things go together. Then if you do have an issue or print the latest upgrade you know how it works. I did not realize how quiet this is compared to other 3d printers until a buddy stopped by to check out my printer. He let me listen to a video of his printer working and WOW it was really loud compared to mine. Prusa seems to always be looking to improve the printers parts and the software that powers the printer. I would highly recommend this printer to anyone looking to get into 3d printing. I have heard that people want to get into 3d printing so they start with the cheapest printer they can find. This typically ends up with someone not lasting long in this hobby because the cheap printers do not always work. They start spending all of their time trying to fix issues or figure things out instead of printing. They then get frustrated and just give it up altogether. I think with this printer you build it set it up and then just start printing your cool designs. I do love the feature of the magnetic print bed on this printer. Once you print is finished you just lift the bed off. Then flex the bed thus releasing the print! The autoload of the filament is also a nice feature it detects when you have placed the filament in and starts extruding it. The printer will then prompt you on the LCD asking if the filament is extruding. The filament sensor will also pause the print if it runs out of filament. Then you just a new spool and off it goes!
Here are a couple of my videos the first one is how to remove a print from the PEI sheet
This one is the very first real print from the printer which was the PI case
Software
I use Fusion 360 cad software and on occasion use OpenScad. I am really liking Fusion 360 for doing my designs like the WebCam holder for printing timelapse videos from OctoPrint. I am by no means a pro cad designer but I have managed a few designs with Fusion 360. You can see a few of them on my Thingiverse page. I have learned a few tricks like putting text on a sheet metal cylinder by unrolling it. Using the design history to edit one design and save it as another. It is also the professional version for free as a hobbyist! You cannot beat free!
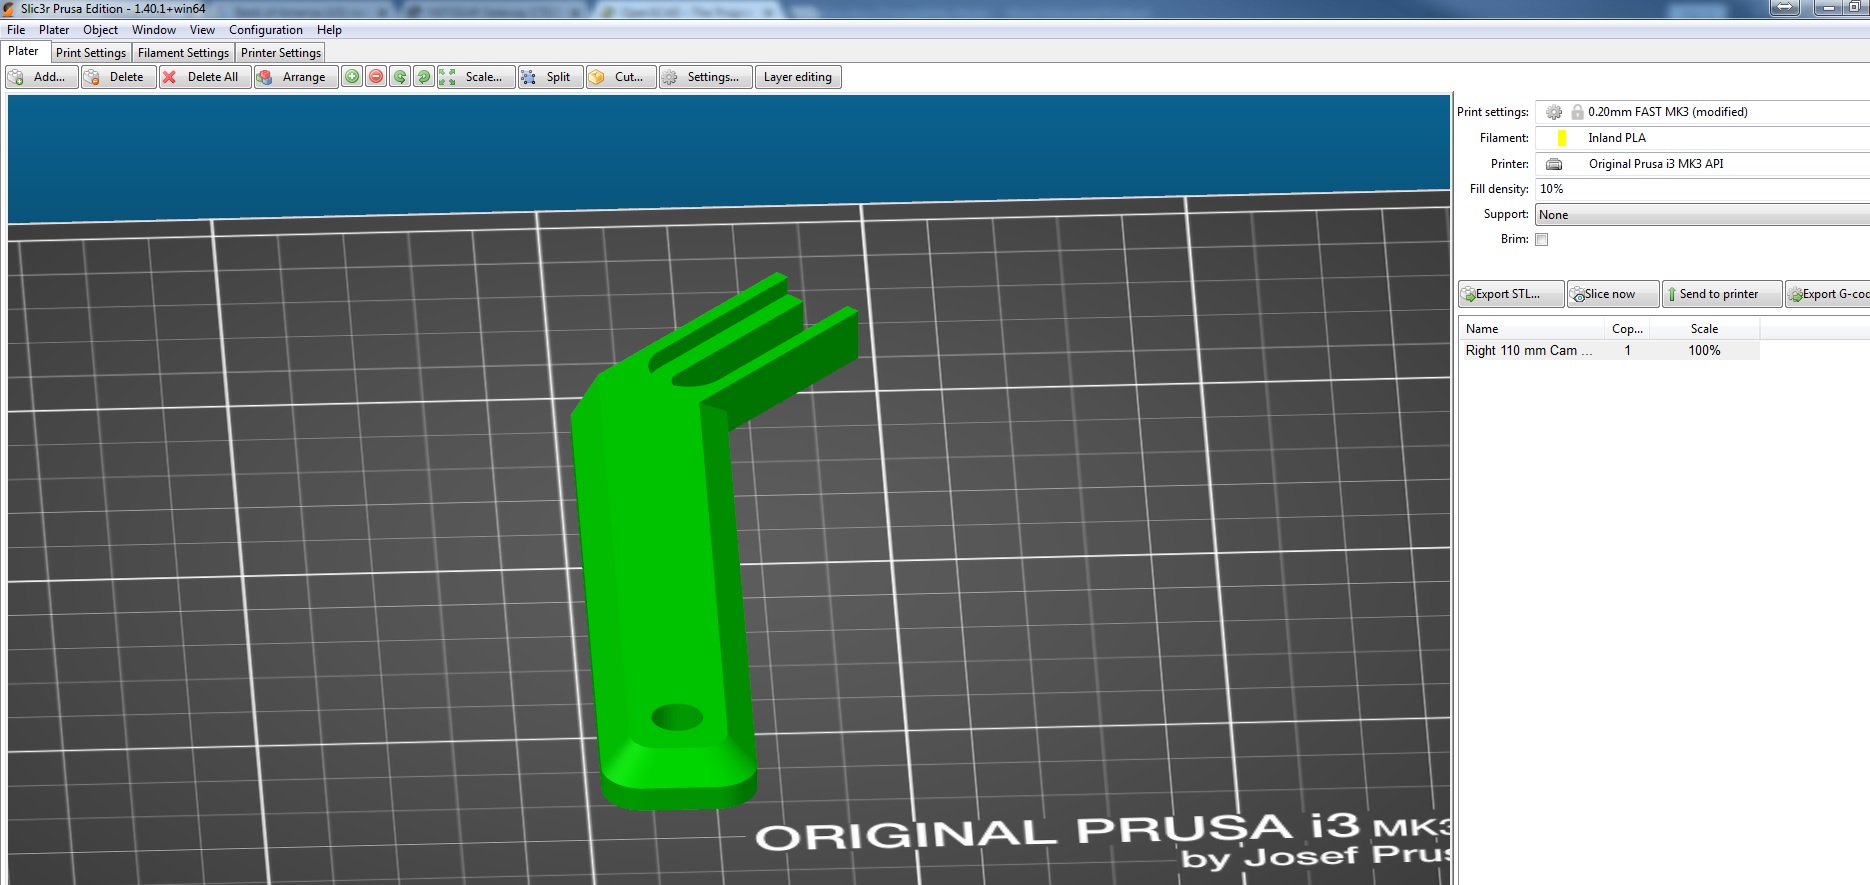
I also use the version of Sli3r Prusa Edition that works really well. I like that they have been enhancing and improving it. I have not gotten too deep into Sli3r Prusa Edition but I have made several custom settings for filaments. I really like the fact that it can tell me how much a print is costing me. I like all of the features available in the Sli3r Prusa Edition vs the PrusaControl software. The PrusaControl software will work just fine but it does not give you all of the control that you have with Sli3r Prusa Edition. I also love the fact that they have Sli3r Prusa Edition sending the gcode files directly to my OctoPrint server. I will use Fusion to design something cool. Then I export the STL file to my local machine. I then take Sli3r open that STL file. It will look something like below.
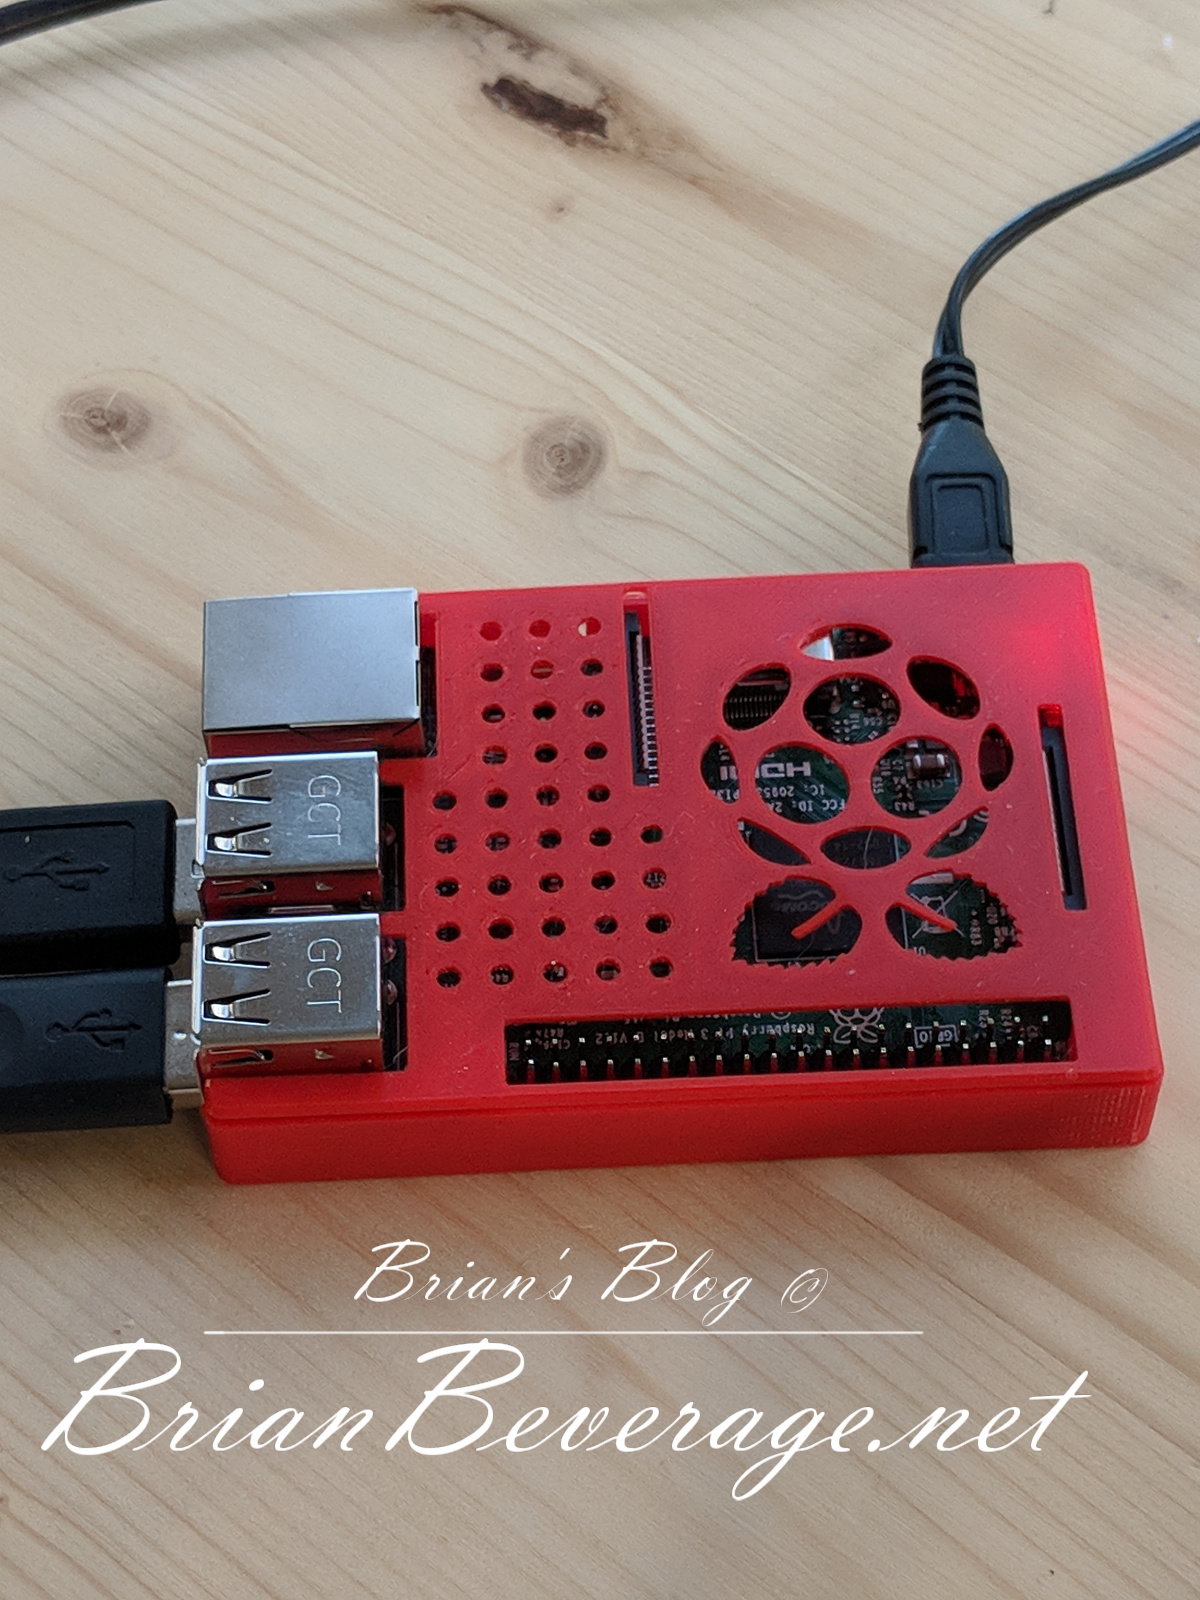
OctoPrint is a great addition to my 3D printing setup. I have a Raspberry Pi 3 B+ with the 2.5A power supply acting as my Octoprint server. You will also need a 32GB SD card for the Raspberry Pi 3 B+. If you do not know what PI is it’s basically a little Linux server running on that small motherboard. You will need to install Octoprint on the SD card boot it up and configure it. You can find those instructions on their website. I really love having this running not only can I send directly from Sli3r to print you can also use the timelapse feature to generate some cool time-lapse from your prints. You will also find several other useful things in OctoPrint. Another cool feature is the GCode viewer. You can watch each layer as the printer is printing it! That can be useful if trying to diagnose an issue or seeing how the layers will be printed in real-time. Below is a screenshot from one of my prints realtime.
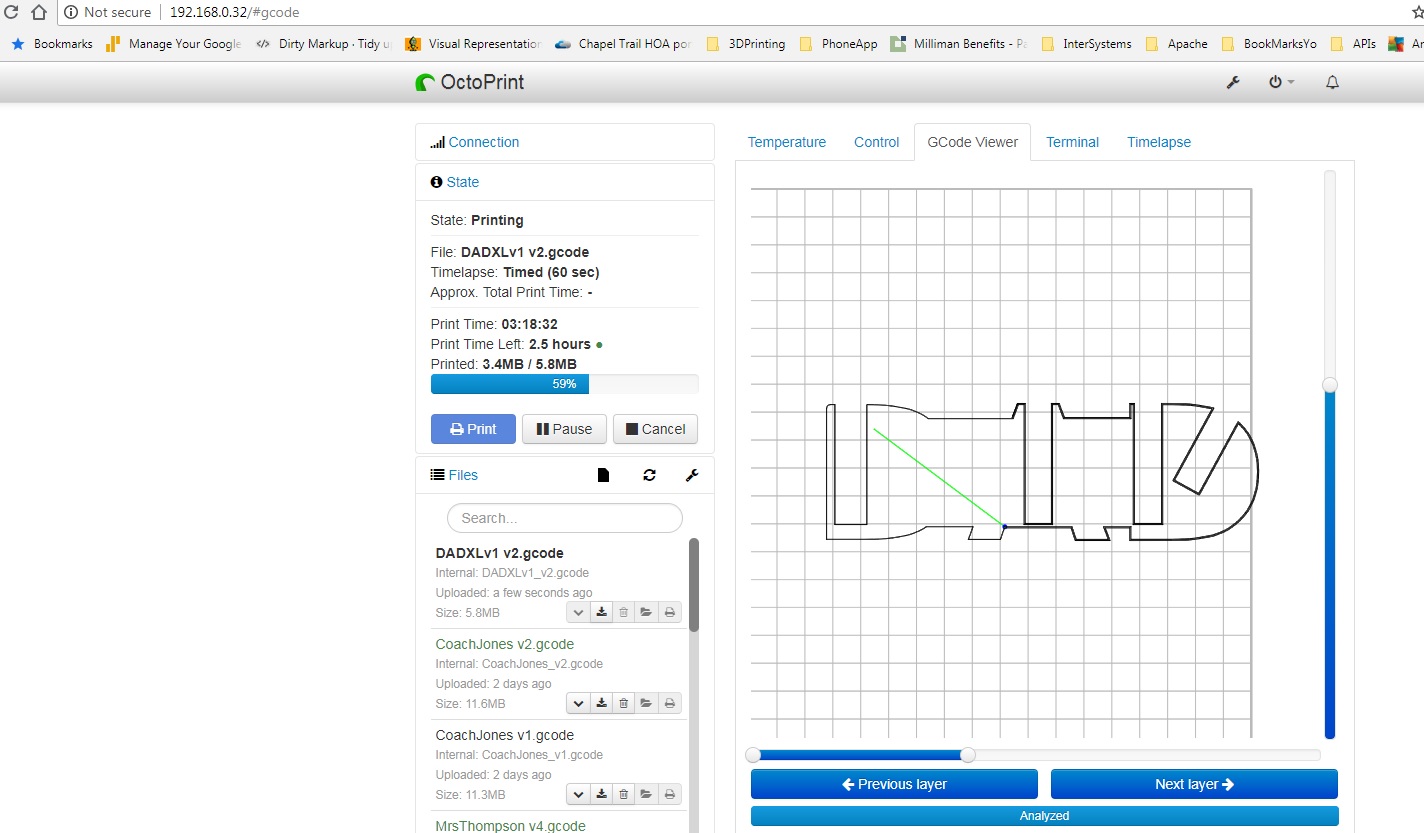
This view will show you where the extruder is going to move. It gives you a lot of stats about the print like how many layers, the volume of filament used etc I found this view interesting just to watch as the printer moved through the layers.
Here is the list of items used to set up the OctoPrint server.
- Raspberry Pi 3 B+ with the 2.5A power supply
- 32GB SD card
- Download OctoPrint here
- Follow these instructions to setup OctoPrint
Filament and Tools
Here are links to some of the filaments I have used with success.
Inland
Black
Blue
Light Blue
Red
Purple
Glow in The Dark
I also have the below colors but I have not printed anything with them yet. Other than small swatches just to see what the color looks like printed.
White
Green
Yellow
Gold
Pink
Peak Green
Silver
Grey
Hatchbox
I would say the Hatchbox has been the best performer but depending on what your printing the inland has worked well for me. I have not printed any intricate 3d figures or anything so maybe once I do I’ll need to switch filaments at that point. Until then I will have some of both for certain colors on hand. I also use 91% isopropyl Alchohol after every couple prints or if I have touched the print-bed with my skin. This will keep those prints sticking well to the bed. I also have a pair of snips that I love to use for clipping the end of the filament triangular so it starts feeding into the extruder.
Calipers
I use these calipers they are really reasonably priced. They have worked great for me.
I have ordered these calipers so that I can get measurements in spots that the above calipers cannot measure. I have run into this a couple times now and decided its probably time to just get a pair.
Alcohol
91% isopropyl Alchohol
You can also find this at Walgreens when they have it in stock it is actually a few dollars more but you can get it right then.
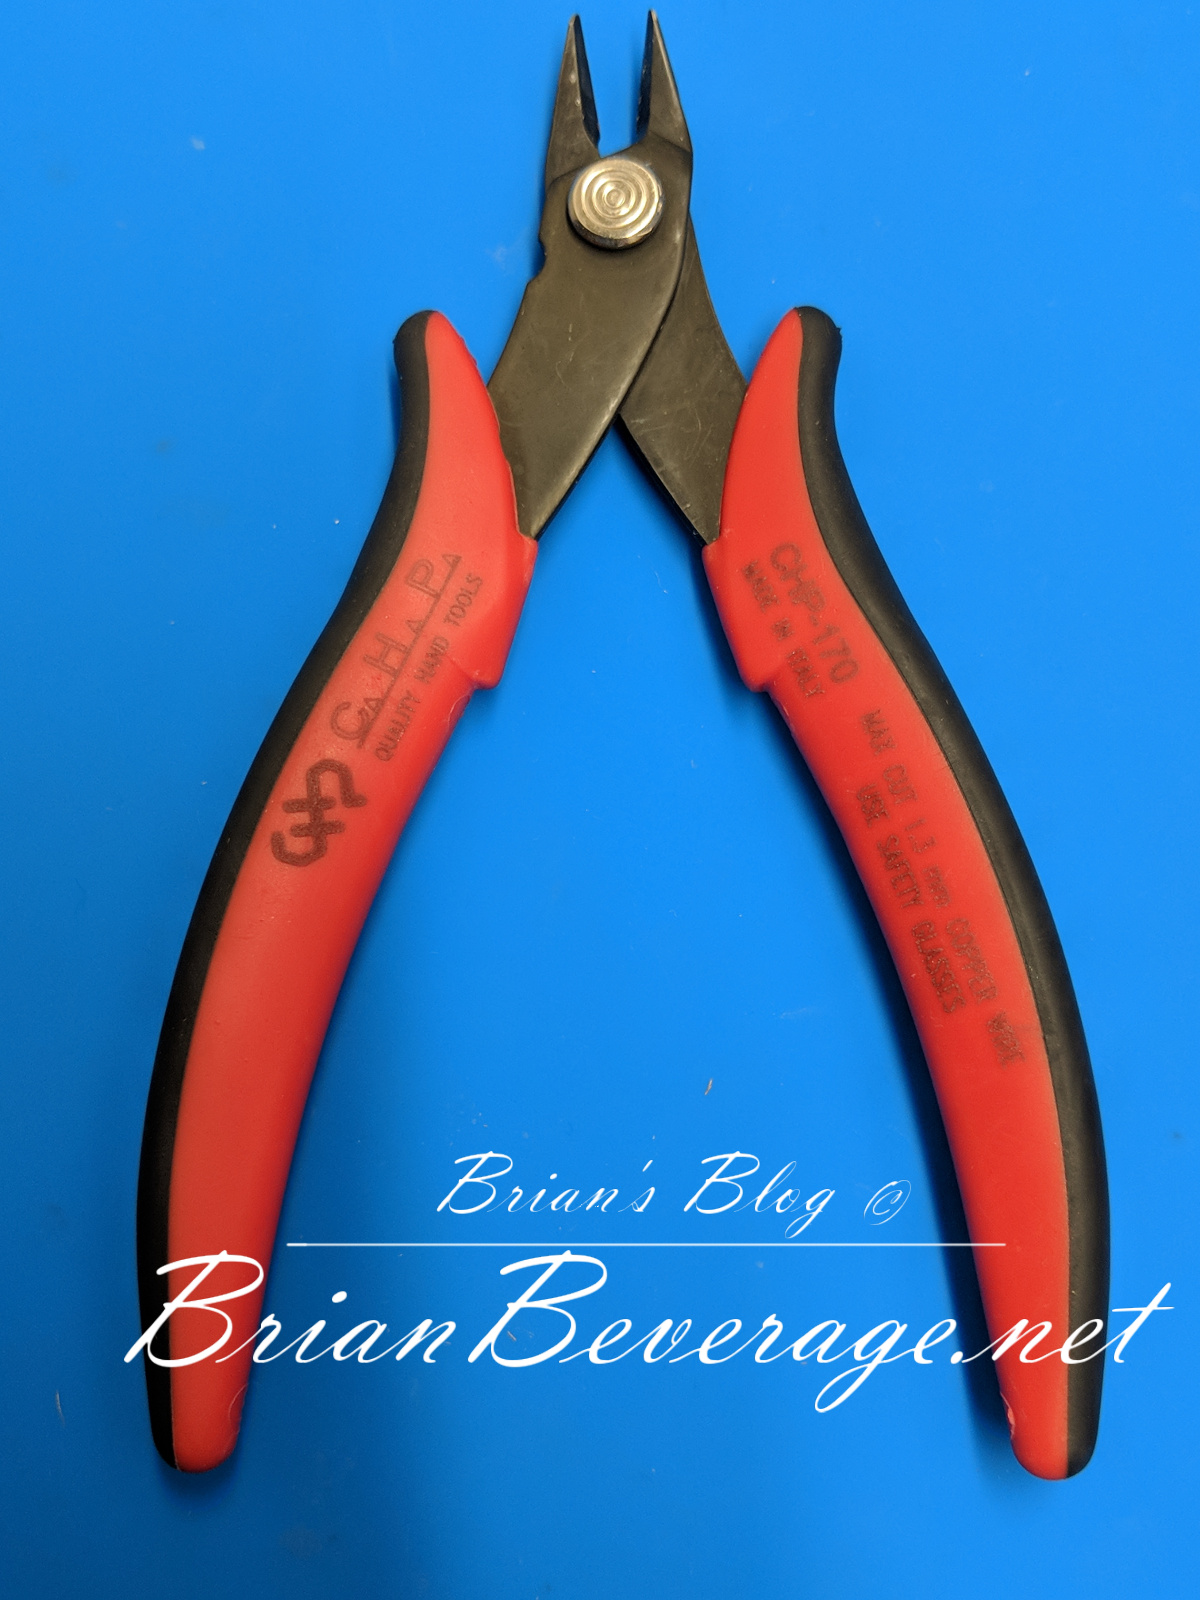
CHP-170 Mico Cutters I use these to clip the filament into the triangular end. That seems to work great for feeding it into the extruder. I also use them a lot when building drones.
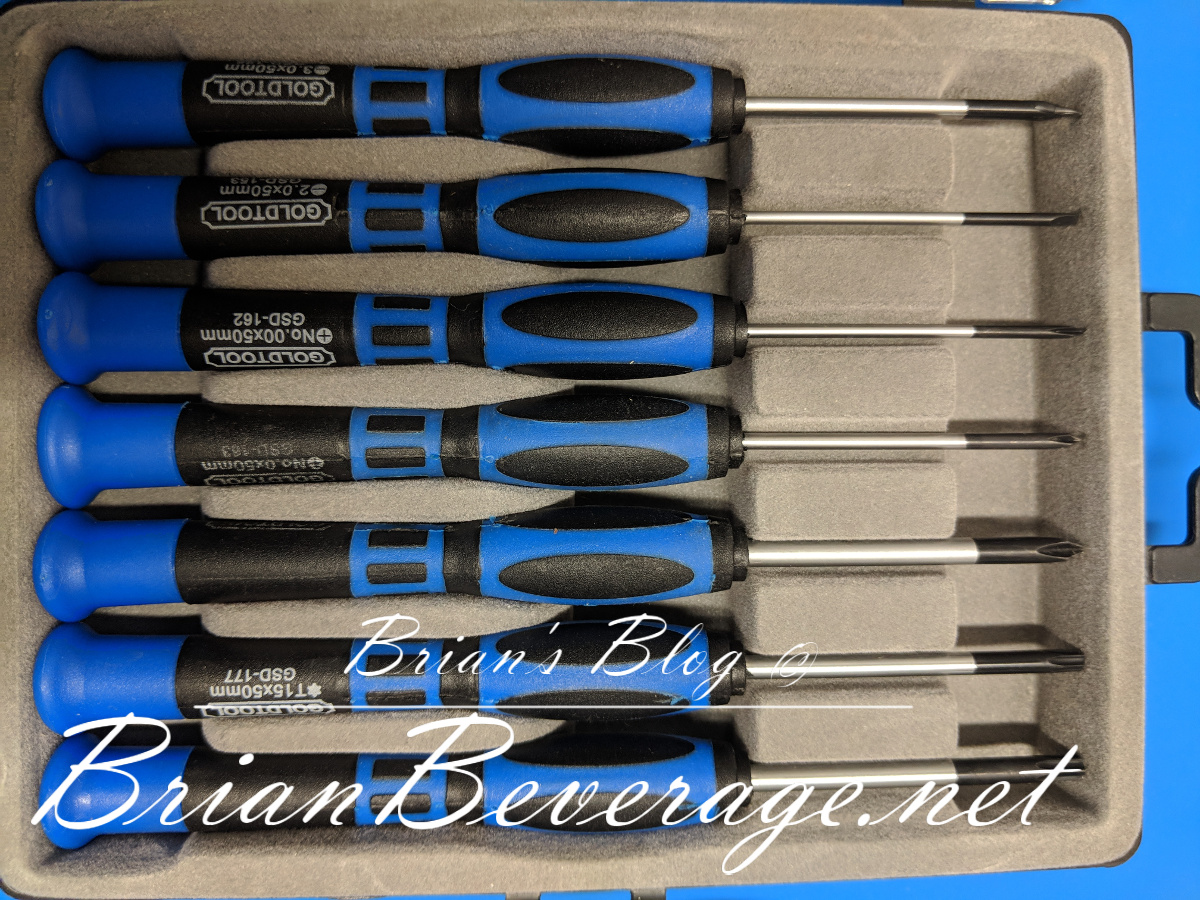
Screwdriver set This set has also been really handy when mounting my webcam. I also use them all the time building drones not to mention just around the house when I need a small screwdriver.
Photos
Here are some photos of my setup and tools:

I think this is a good overview of what I have. If you have any specific questions just drop a comment below. I will do my best to answer them. I really enjoy having the 3D printer! It will allow you to take an idea for some random doodad and make it a reality. It is really cool watching your ideas before objects before your eyes. It has been an iterative process of design, print, tweak, print again…rinse repeat but it has been a real blast.
Until next time keep on 3d printing! 🙂