Well, it is done! The Drone lives!! I have to give out big THANKS to thelab.ms for hosting the build and to Pat, Brian and Mike for helping us. I have a few photos and I did use the GoPro to record me building but about halfway through the batterie(s) died and I forgot to bring the charger… I will post what I have and try to speed up the video so it is not SOOO boring. I am also still learning to create these videos so my camera positions are not always very good and I sometimes forget and put things close to the camera that is distracting (like a box of crackers…LOL).
If you would like a complete list of the build parts and why those parts were used check out Pat’s blog post about that here! I think Pat does an excellent job explaining why these parts were chosen and I totally agree with the logic used when picking out these parts. I think for an entry level drone that will need to have parts replaced since we are learning to fly. Crashes are expected and you do not want to be replacing say 30.00 motors from a beginner crash. I am sure once I get this flying down I will have a few more drone builds in me. I would like a larger drone a 450 or larger, a micro-drone and a couple more racing style drones. One setup for freestyle and one set up for racing! I can also see the next iteration of the run cam split so I can record all this footage without the extra GoPro weight. This is assuming the recording does not affect the latency of the video to the goggles.
I think I did manage to get some footage of us learning to fly but how good it is going to remain to be seen. The flying will be a post of its own!

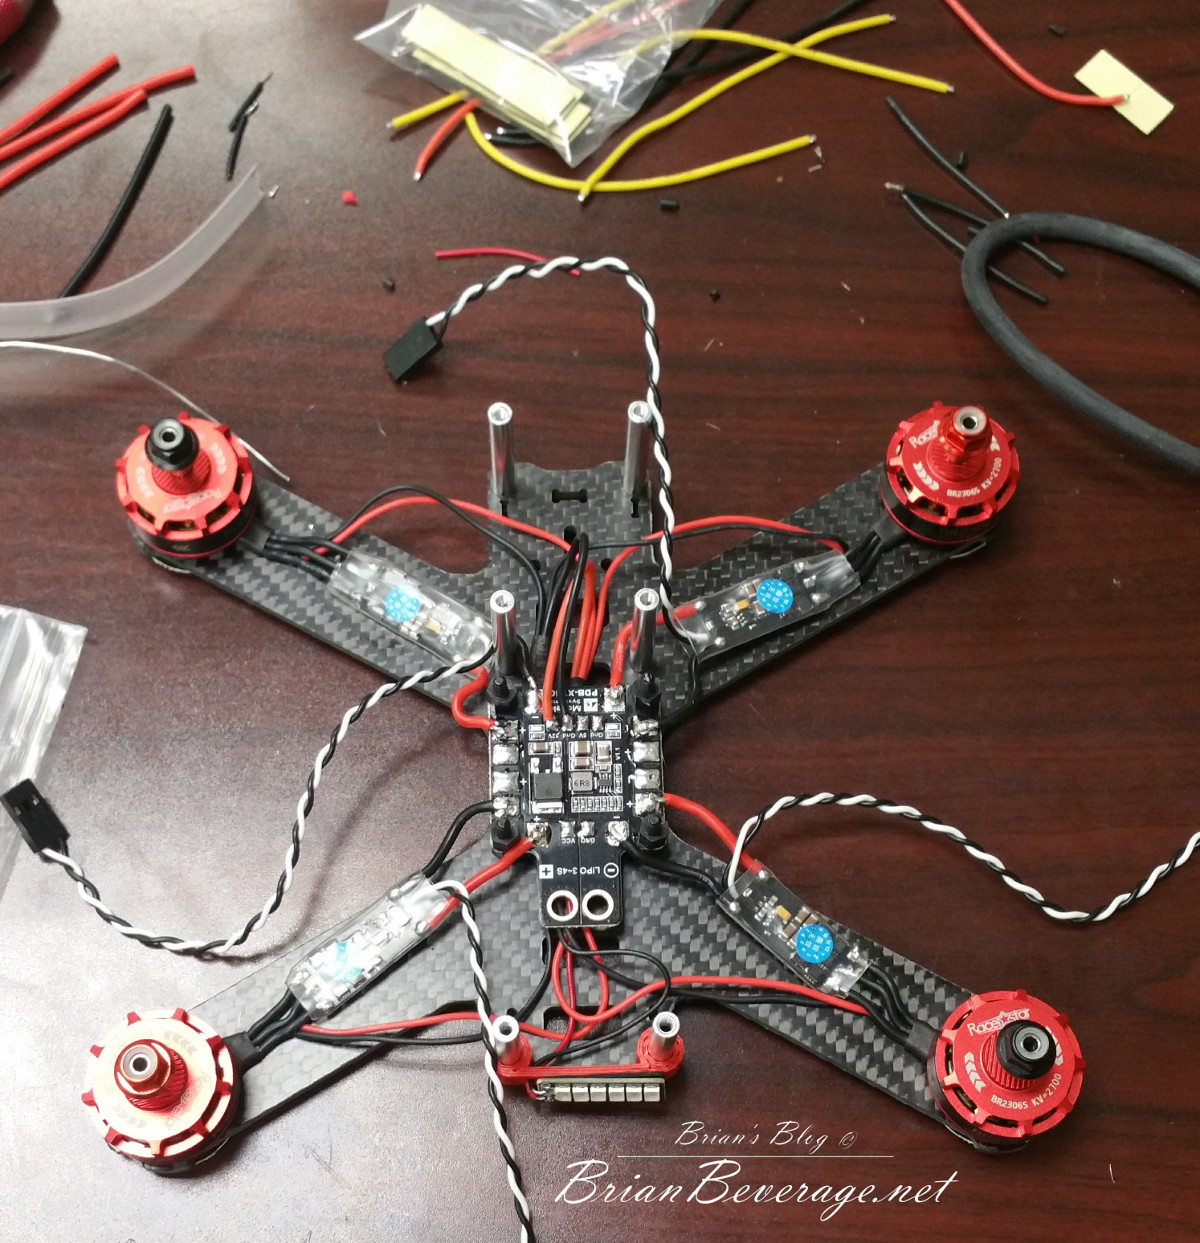
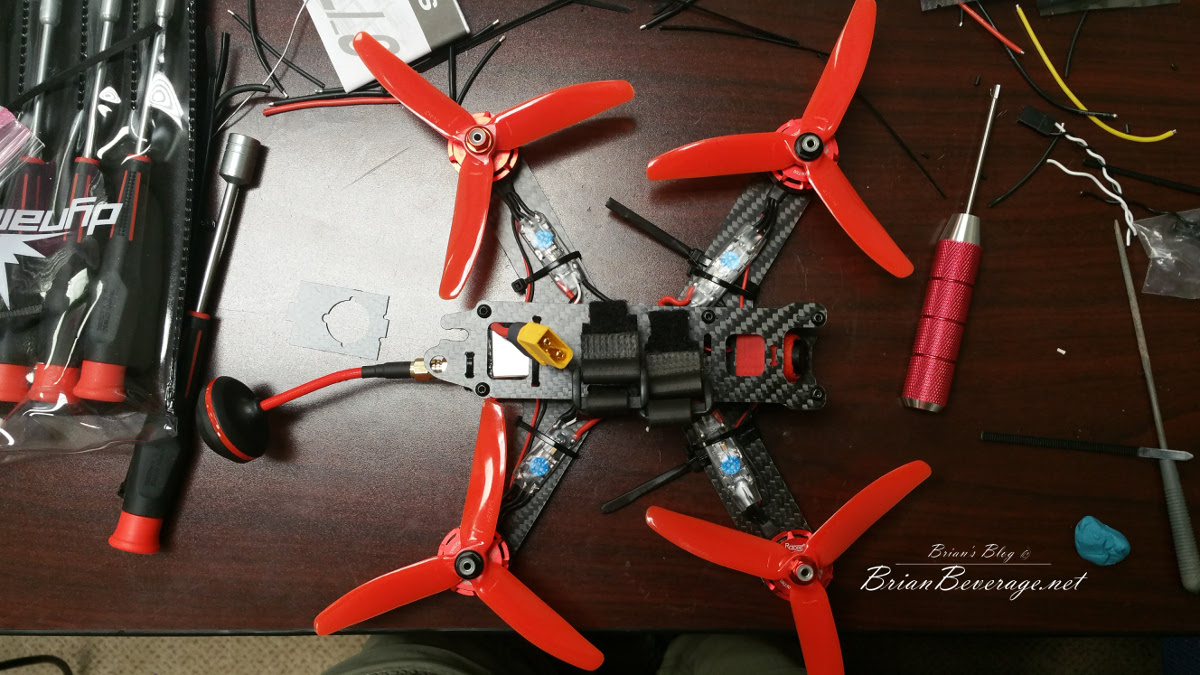
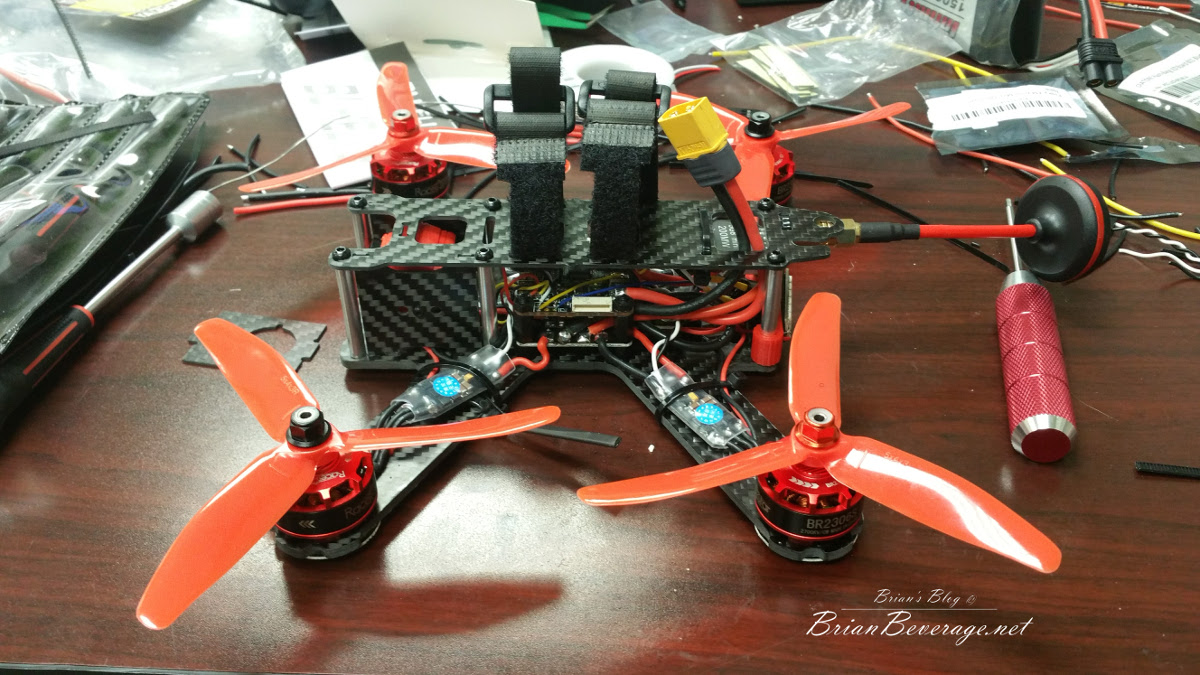
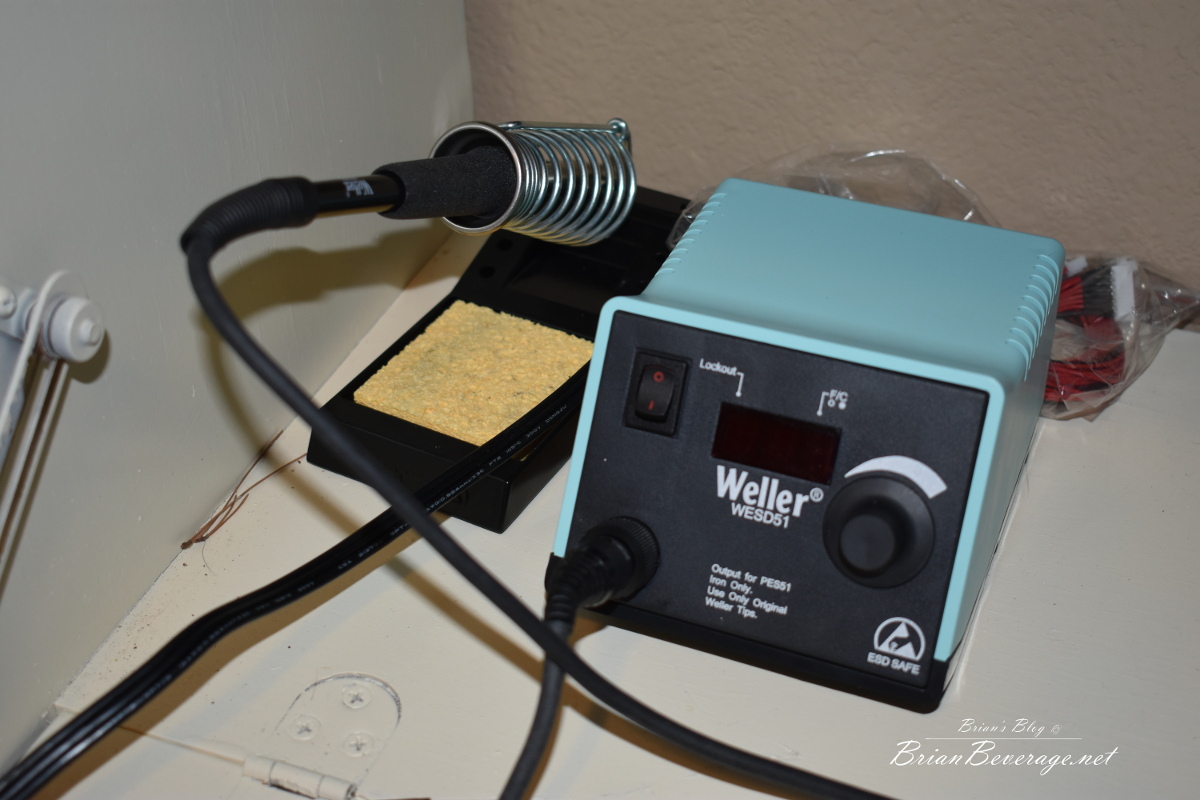
Now that everything is all finished up. I looked through and made certain to wire tie any wires that could possibly get near a prop. I also zip tied on some padded feet to protect the LED below each motor. It seems that making certain all the wires are long enough but not too long is one of the challenges of the build. This was more challenging than I thought it was going to be only because of all the soldering. It requires a lot of soldering. I am so glad I purchased the Weller soldering station! It made soldering so much easier and seem to make my solder joints solid. I also love the fact that you can turn the heat down low for the small wires on the flight controller.
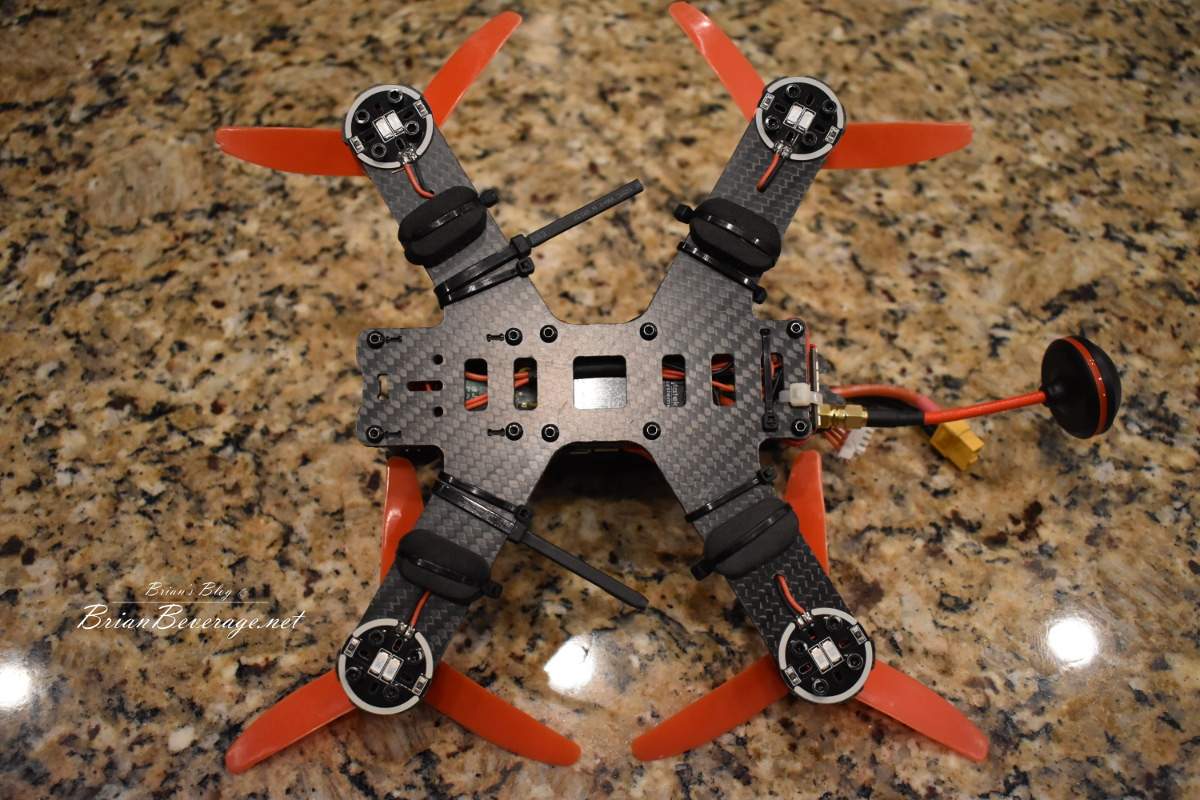
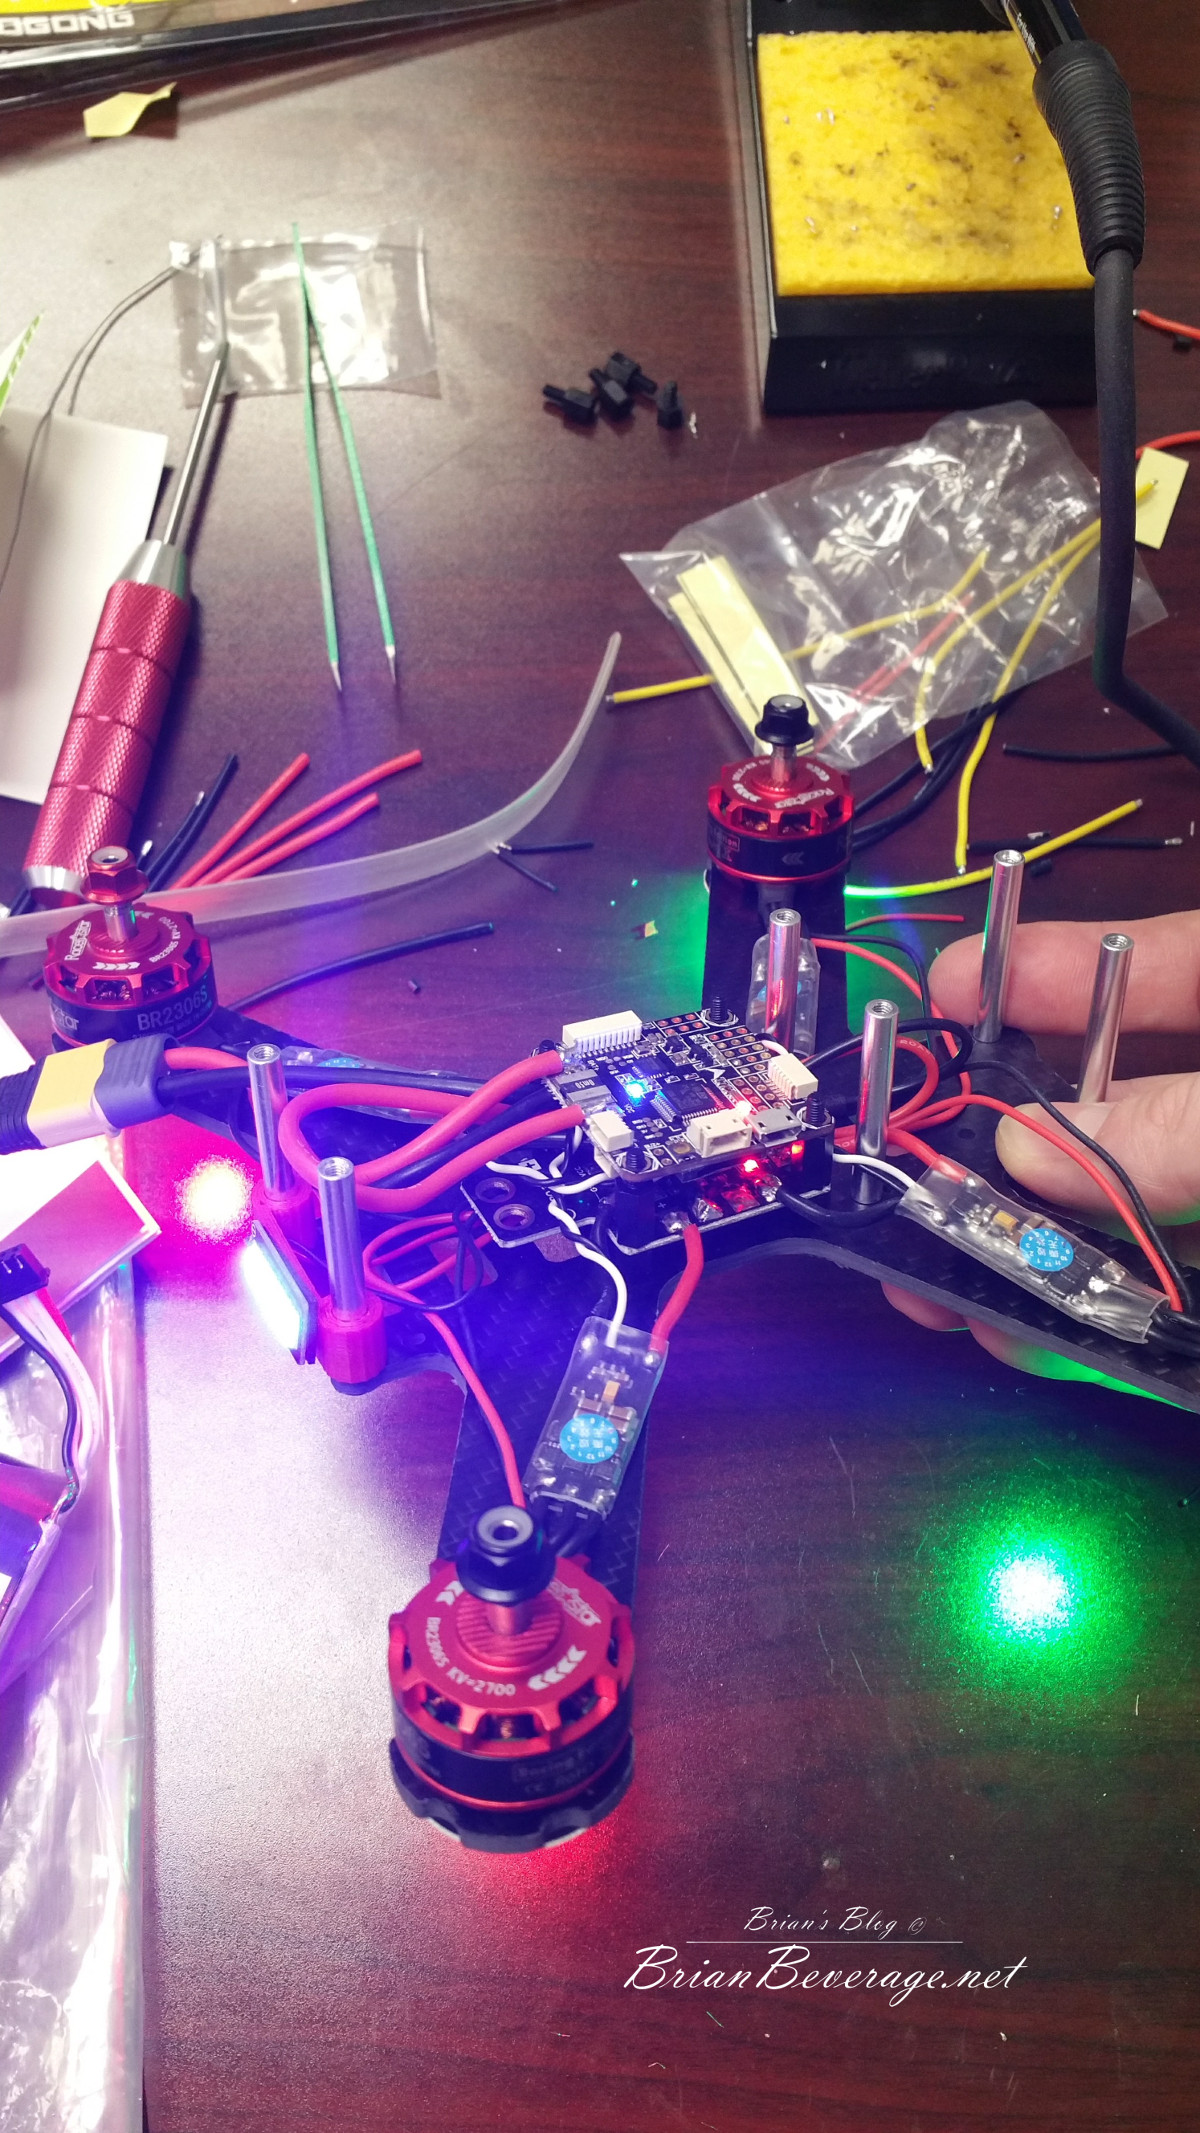
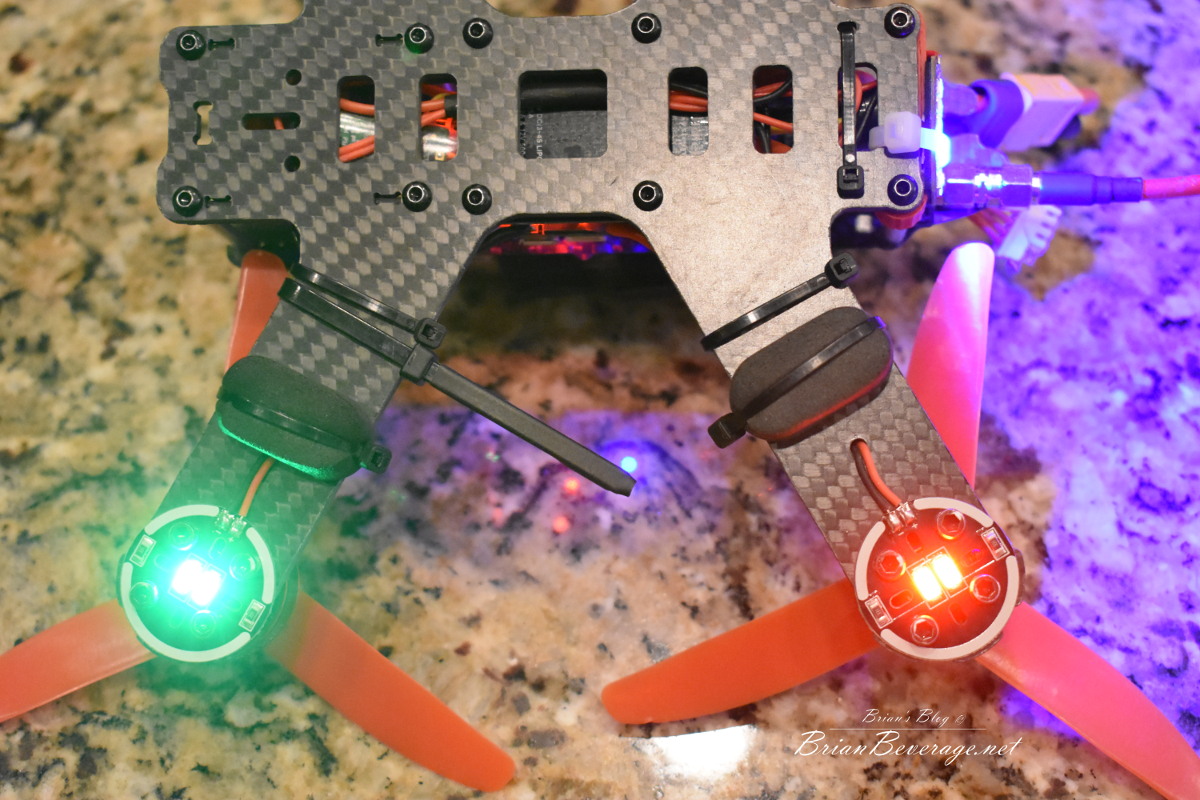
Here is what the underside looks like. The foam feet I added zip ties to just to make certain they stay stuck on. The LED’s are nice and bright. You can see from the shot that I went with 2 RED in the read and 2 Green in the front. The rear strip LED’s are blue. This helps with knowing the orientation of the drone when flying line of sight. It still can only help so much. I do have a nice story to tell from my first flight.
My first flight was an interesting one. Learning to fly has been more challenging than I thought it would be. I am slowing getting a little better in the simulator. Now that I have a drone to fly I need to get out and practice…practice..practice.
The build can be broken down into a few steps. Here is a link to Pat’s blog about the parts He also has some great posts. Go check it out!
- Sort and confirm you have all the needed parts
- Mount the Risers to the frame. 4 at the front 2 at the rear
- Mount the smaller risers that hold the Flight controller and Power Distribution Board
- Tin all the solder joints on the Flight Controler
- Prep the ESCs for mounting.
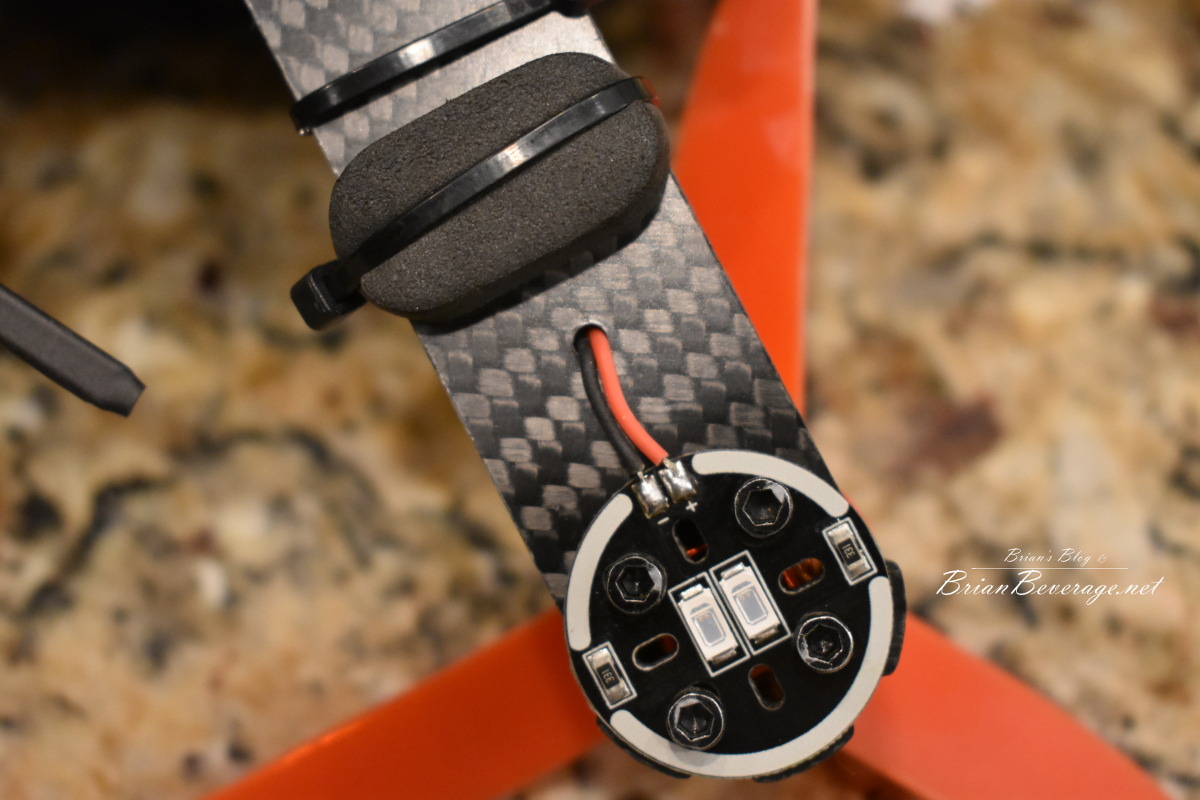
- Tin the LED solder points and solder on the LED wires
- Mount the motors and LED’s
- Design and solder up the LED wiring
- solder in the ESC’s — this where the last GoPro Battery Died 🙁
- Solder the PDB to the FC
- Solder in the receiver
- Solder in the VTX
- Mount the FPV camera
- Top Plate
- trim down the battery straps
- confirm and zip tie up anything that might get in the rotors
I will have to record the entire build the next time I build a drone! This is the video of the build. I wish I would have remembered my GoPro charging cable so that I could have charged the GoPro and got all of the build footage…. I know for next time that I need way more battery. I have tried to cut out some of the repetitions in order to shorten the length of this video. I have also removed all of the talking and just overlayed some of YouTube’s music. This was really fun to do I enjoy building things and seem to have
This is the regular speed playback
This is the 2 X speed playback!
It was a lot of fun building the drone. Now its time to learn to fly! Which I hope to get lots of practice at doing! 🙂