Since getting into drones I discovered you have a lot of extra stuff to work on and fly them so I decided I needed a place to work on and build new drones so I changed the layout in my office around. I built a drone workbench with some pegboard to hold things and a bright LED shop light mounted above the workbench. I have now gotten everything out of the cluttered bookcase I was using and into a nice place where it can be found. I also discovered that you need several tools and items to work on / build drones so this workbench will allow me to organize those tools. I can also work on things without having to pick it all up and put it away so my computer desk can be used. Here is what I used to build it.
- Old computer desk as the base. 43 1/2″ X 22″ X 30″
- 2 – 1″ x 8″ x 8′ Pine boards as straight as you can find in the pile
- 3 – 1″ x 2″ x 8′ Poplar – These are kind of pricey but if you want to make a square frame for the pegboard they were worth it to me. I got these because of the cheap 1″ x 2″‘s were so warped you could bit make a frame for anything…
- 2 – 2′ x 4′ Pegboard – If I had a table saw or something to cut a sheet I might have done this a little wider just to fill the space.
- 1 – 1″ x 12″ x 4′ or just a couple feet. I actually used some from scrap that I had laying around.
- 1 – 1″ x 6″ x 2′ I also had some scrap that I used.
- 3 – 1″ x 4″ x 6′ I had some scrap so I used 2 60″ boards.
- 1 – LED Shop lightThis is a REALLY nice light for the price. It lights up the workspace really great!
Now let’s see if I can describe what I did to make this workspace. I took the 1″ x 8″ and cut it down to 49 1/2″ and attached it to the top of the desk with about 3 1/2″ of overhang. Then I come under the overhang and added a cut 1″ x 4″ so it was flush with the 1″ x 8″ above it. Like this pic. Sorry, its hard to get in here and take a picture I wish I would have thought about it as I was building it.

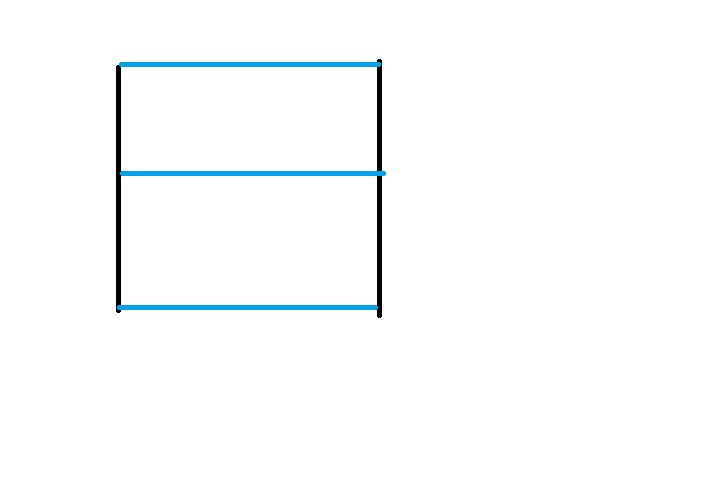
I used 2″ drywall screws to attached the 1″ x 8″ to the top of the desk. Those will go all the way through the top of the desk so be aware of where they will come out! Once I had this attached to the desktop I used it as the base for holding the pegboard frame. I built the pegboard frame out of the 1″ x 2″ cut to 48″ for the sides and 45″ for the top, middle and bottom. What I did was use my brad nailer to tack the pegboard to the frame. I then come back and put 1″ drywall screw in to hold it together. The brad nails was just a fast way to get everything lined up and held in place. What you will do is lay the boards out like below. The Black lines are 48″ the blue 45″.
Now you will lay one pegboard on the top centering the bottom of the pegboard on the middle 1″ x 2″. I then tacked that one into place with the brad nailer. I then placed the second pegboard on the bottom centering it with the frame and tacked it into place. Now once you have it tacked you can break out the screws and drill. I used 1″ drywall screws to secure the pegboard to the poplar frame. It is not super sturdy just yet so until you have it all screwed on I would not move it. Once you have the drywall screw in holding the pegboard on the frame you can the prepare to attach that to the frame you made on the desk. The best way I could find to attach this was using the 1″ x 4″ x 60″ (should be 6′ but I used scrap I had) now what you will do is attach these at the spot where your desktop extension is overhanging. You are basically making legs for the extension but they are going up even on the sides with the pegboard frame. Like so …
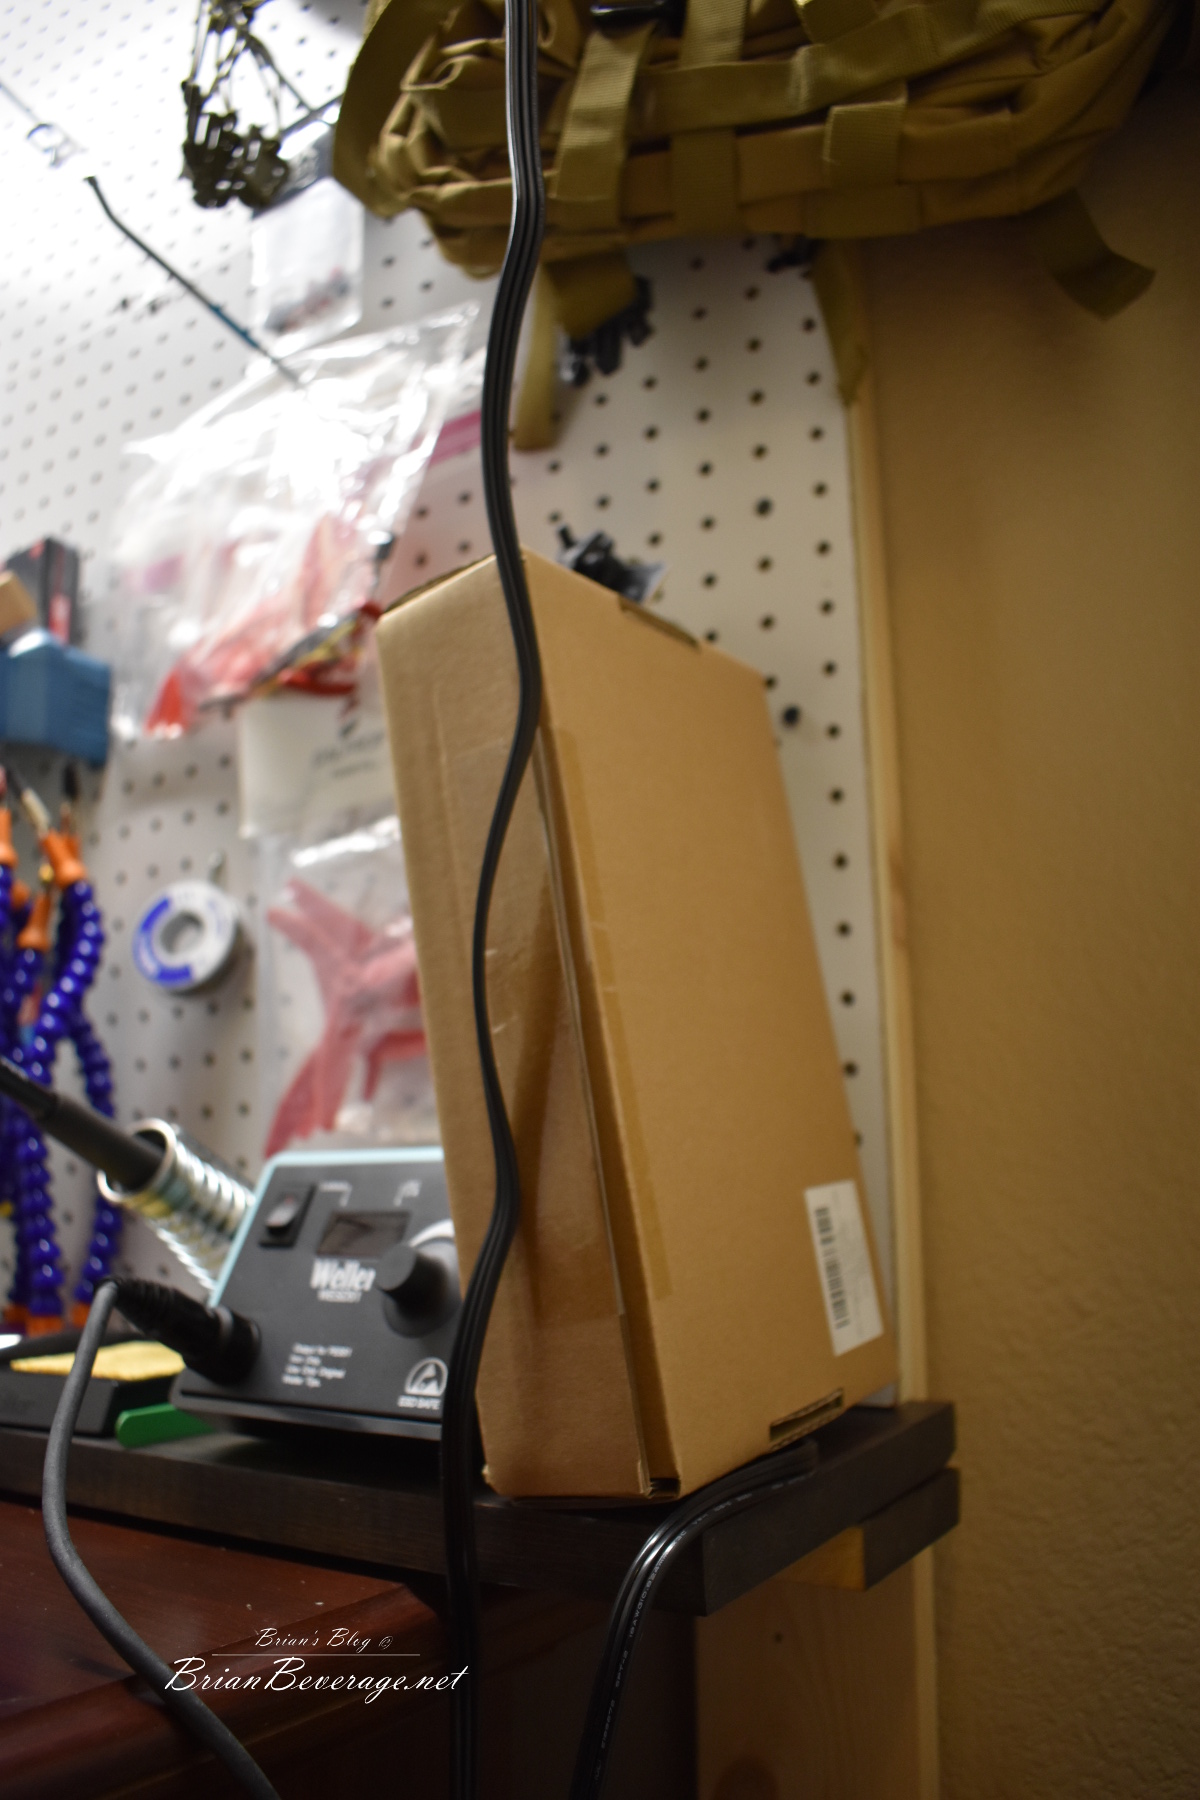
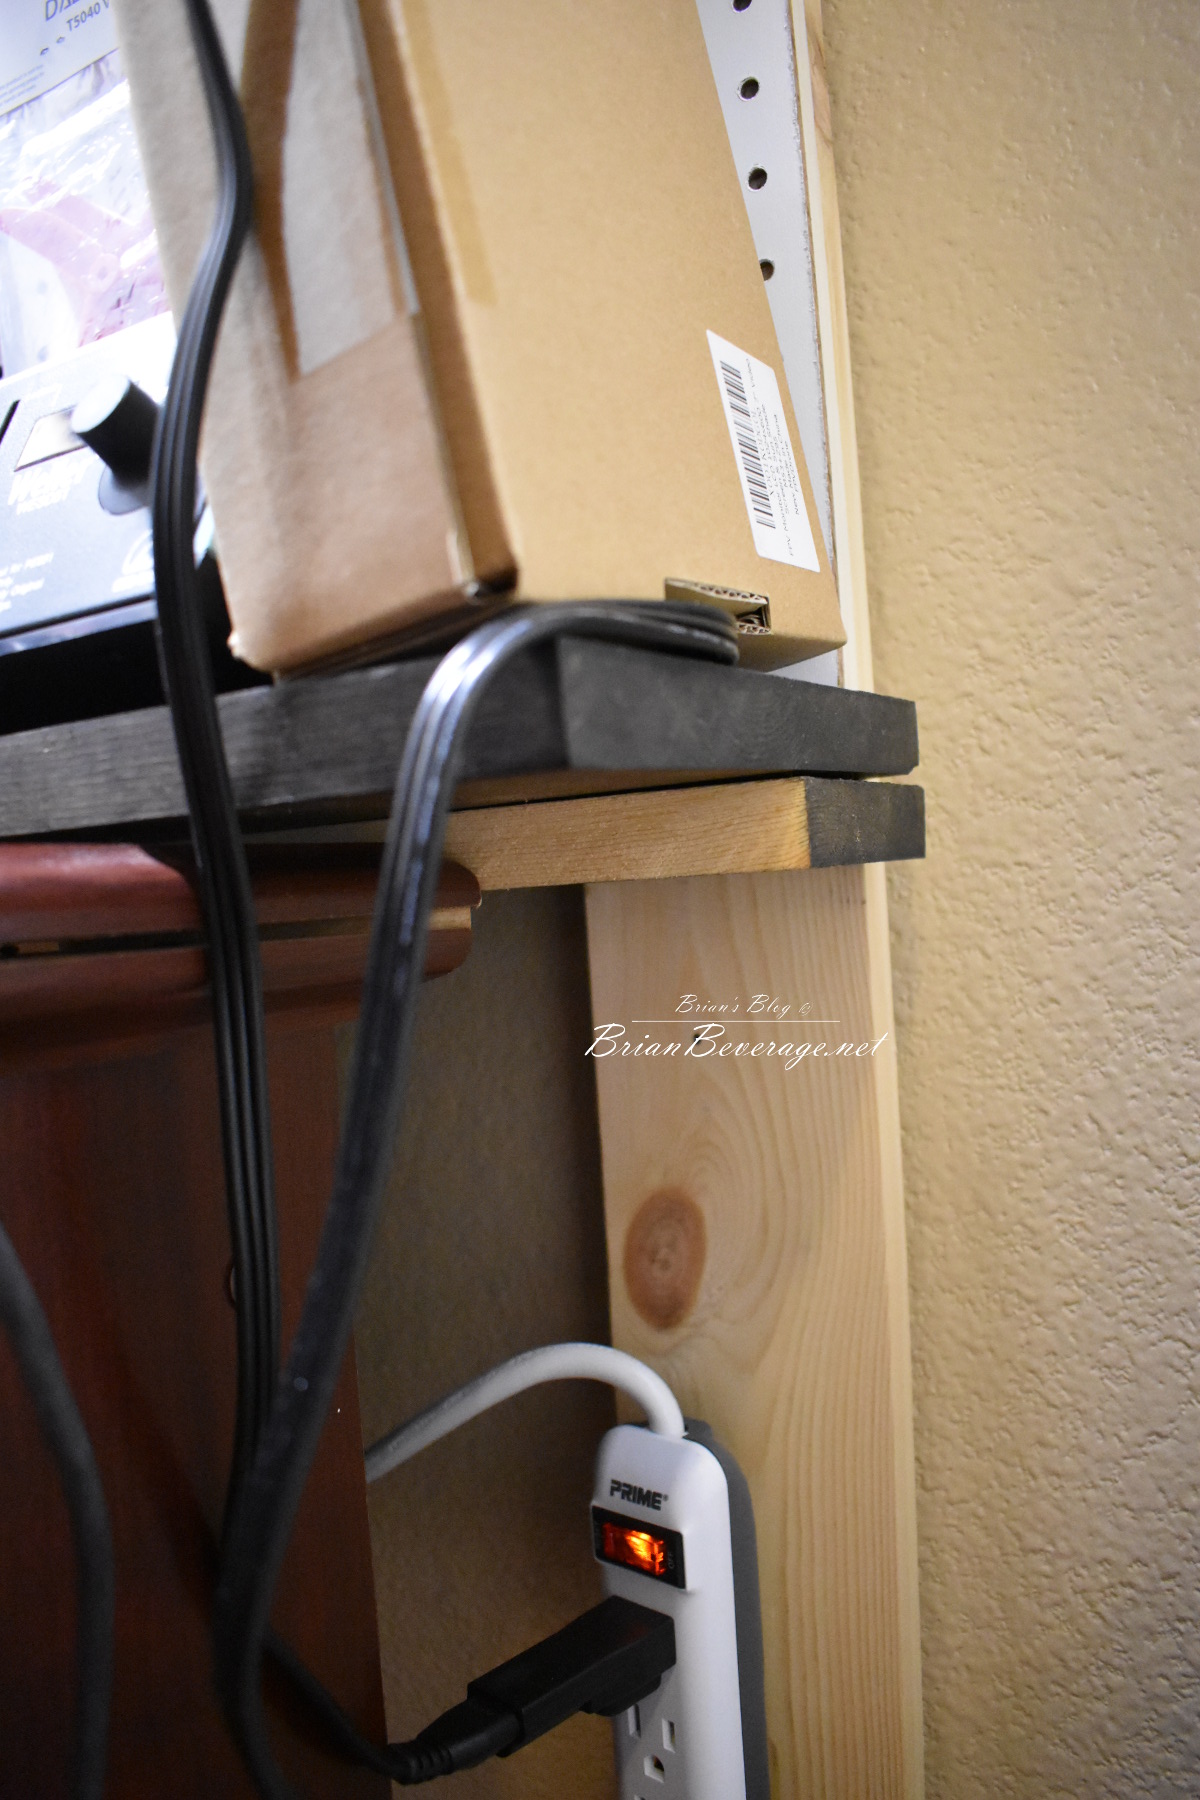
You will do this with both ends of the pegboard frame and the middle of the frame. This will allow support and keep the extension for sagging. Once you have all these attached you can then move the desk into position against the wall. I wanted to make certain it was secure so I attached to small 1″ x 4″ x 6″ boards to a stud and then to the pegboard frame like below.
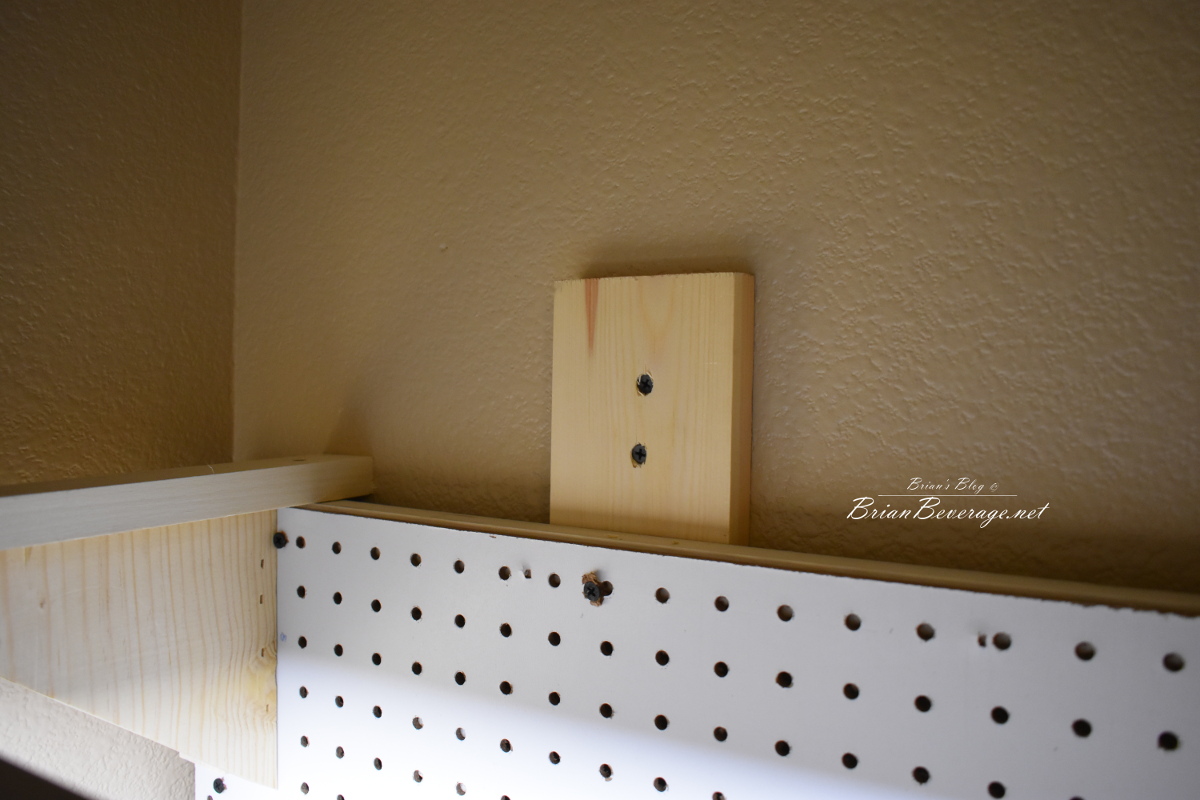
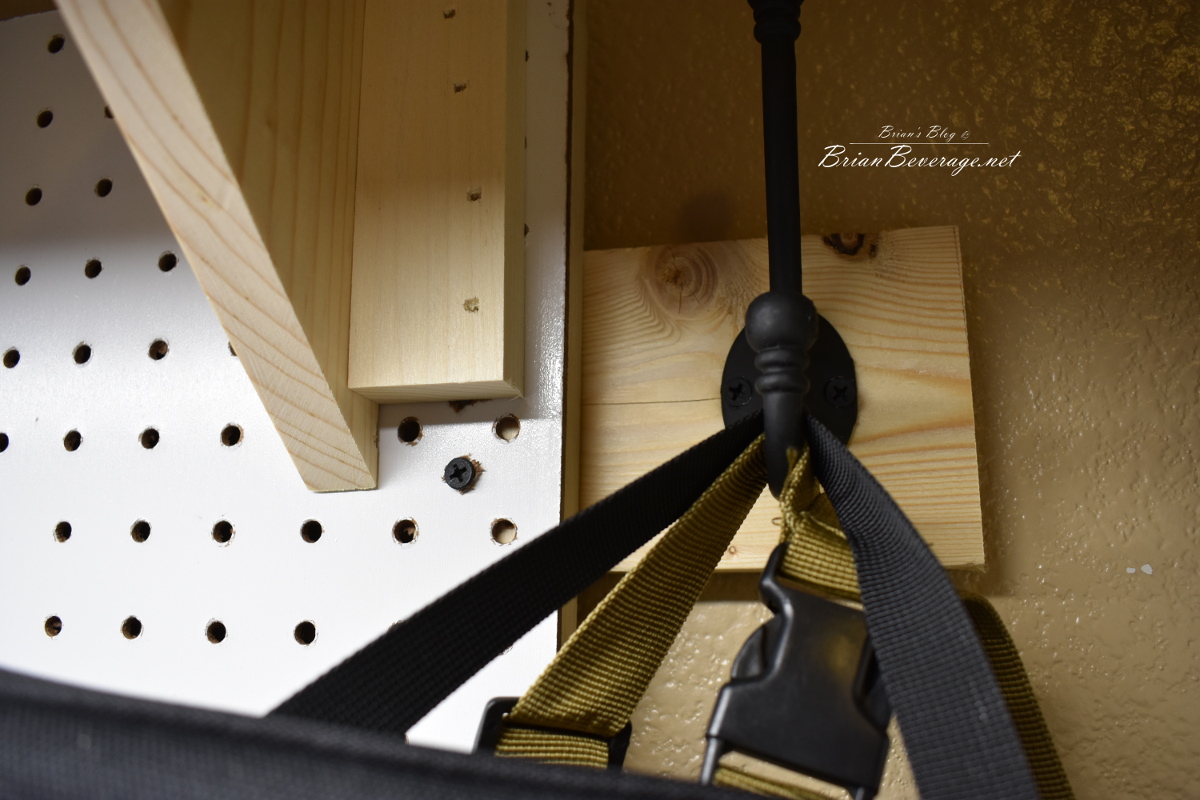
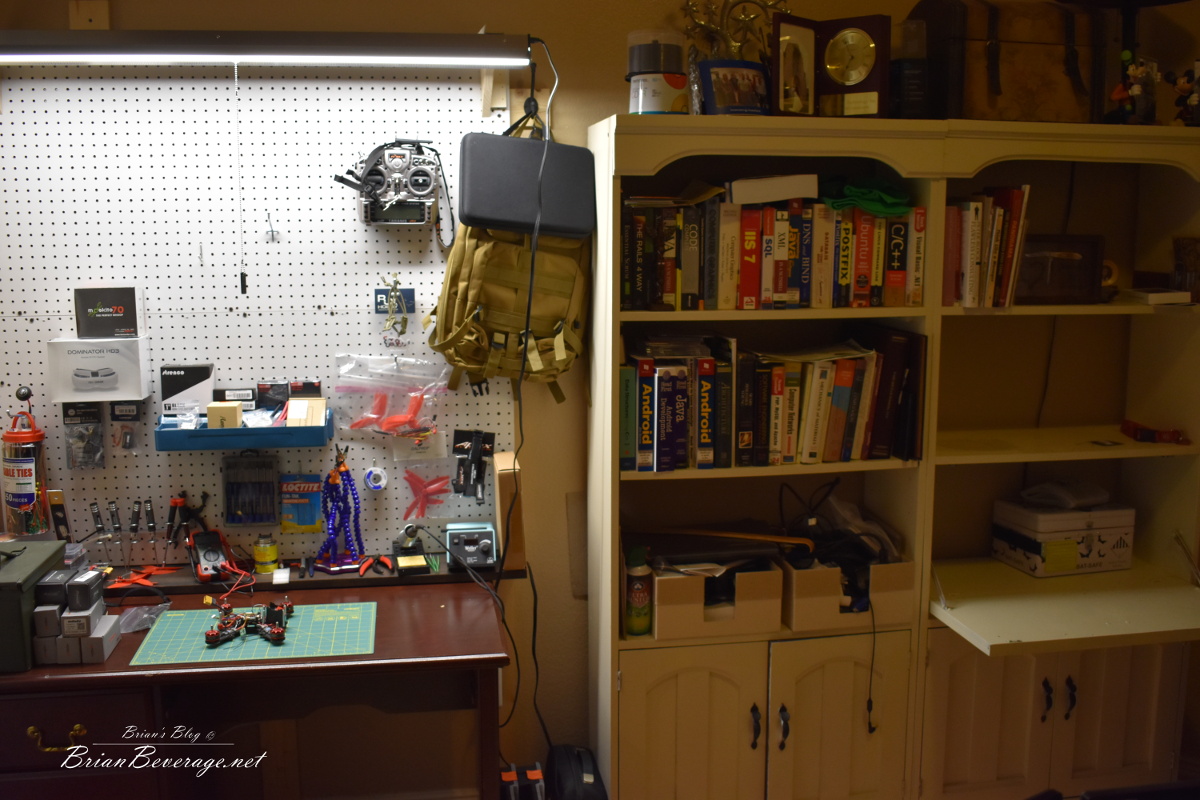
as you can see from this one I decided to add a hook to hold the backpack and gopro case. I split the board a little screwing it in too tight with the drill…. but it will be fine. This made the pegboard frame really sturdy. I wanted to mount a work light above the workbench so I need this to all be sturdy. Next is where you build the frame to hold the work light. This is where I took the 1″ x 12″ and measured down about 6″ this is the side against the pegboard and cut it at 15 degrees. I wanted a triangle to add strength to the light frame.
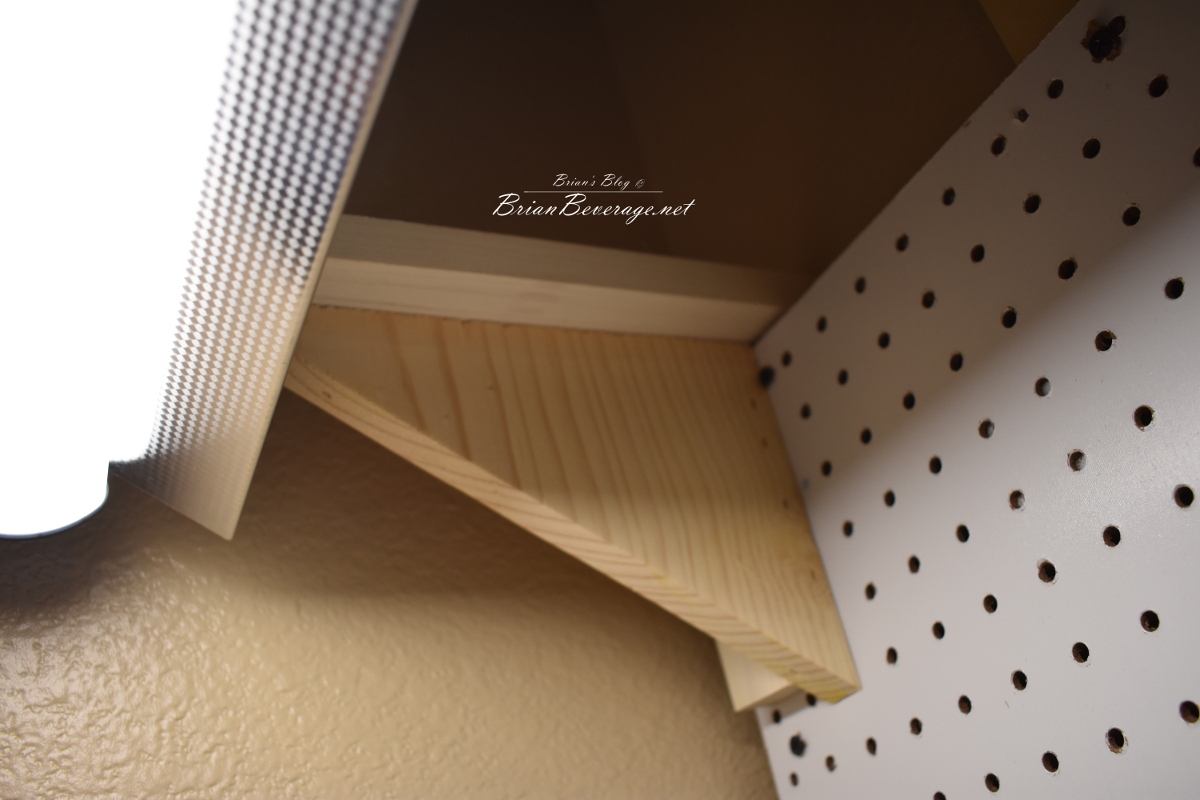
I also cut the 1″ x 2″ 14 ” you need 2 and 2 4″ as well. Now once you have all your cuts you can attach the 1″ x 2″ 14″ at 42″ in the center of the top of the frame. This is where the mounting holes are in the lights frame. This will allow you to attach the light via the frame instead of using the chains. I wanted the light as high as possible to cast a broader light. To attach these you take the 1″ x 2″ x 14″ and put 1 1″ drywall screw into the pegboard frame. I also drilled a pilot hole in the 1″ x 2″ so as not to split it. I then come back once I had all this attached and put some 2″ staples in for added security. once you have the top boards attached you can now attach the 1″ x 2″ x 4″ to your triangle supports like in the wall mount pic above. I used the staple gun here just to make it easy and not worry about splitting the wood. Once you have those built and you need to put the supports on the outsides of the triangle supports so you can attach them to the outside pegboard frame. I also used the staple gun to attach these to the pegboard frame you can see in the pics below.
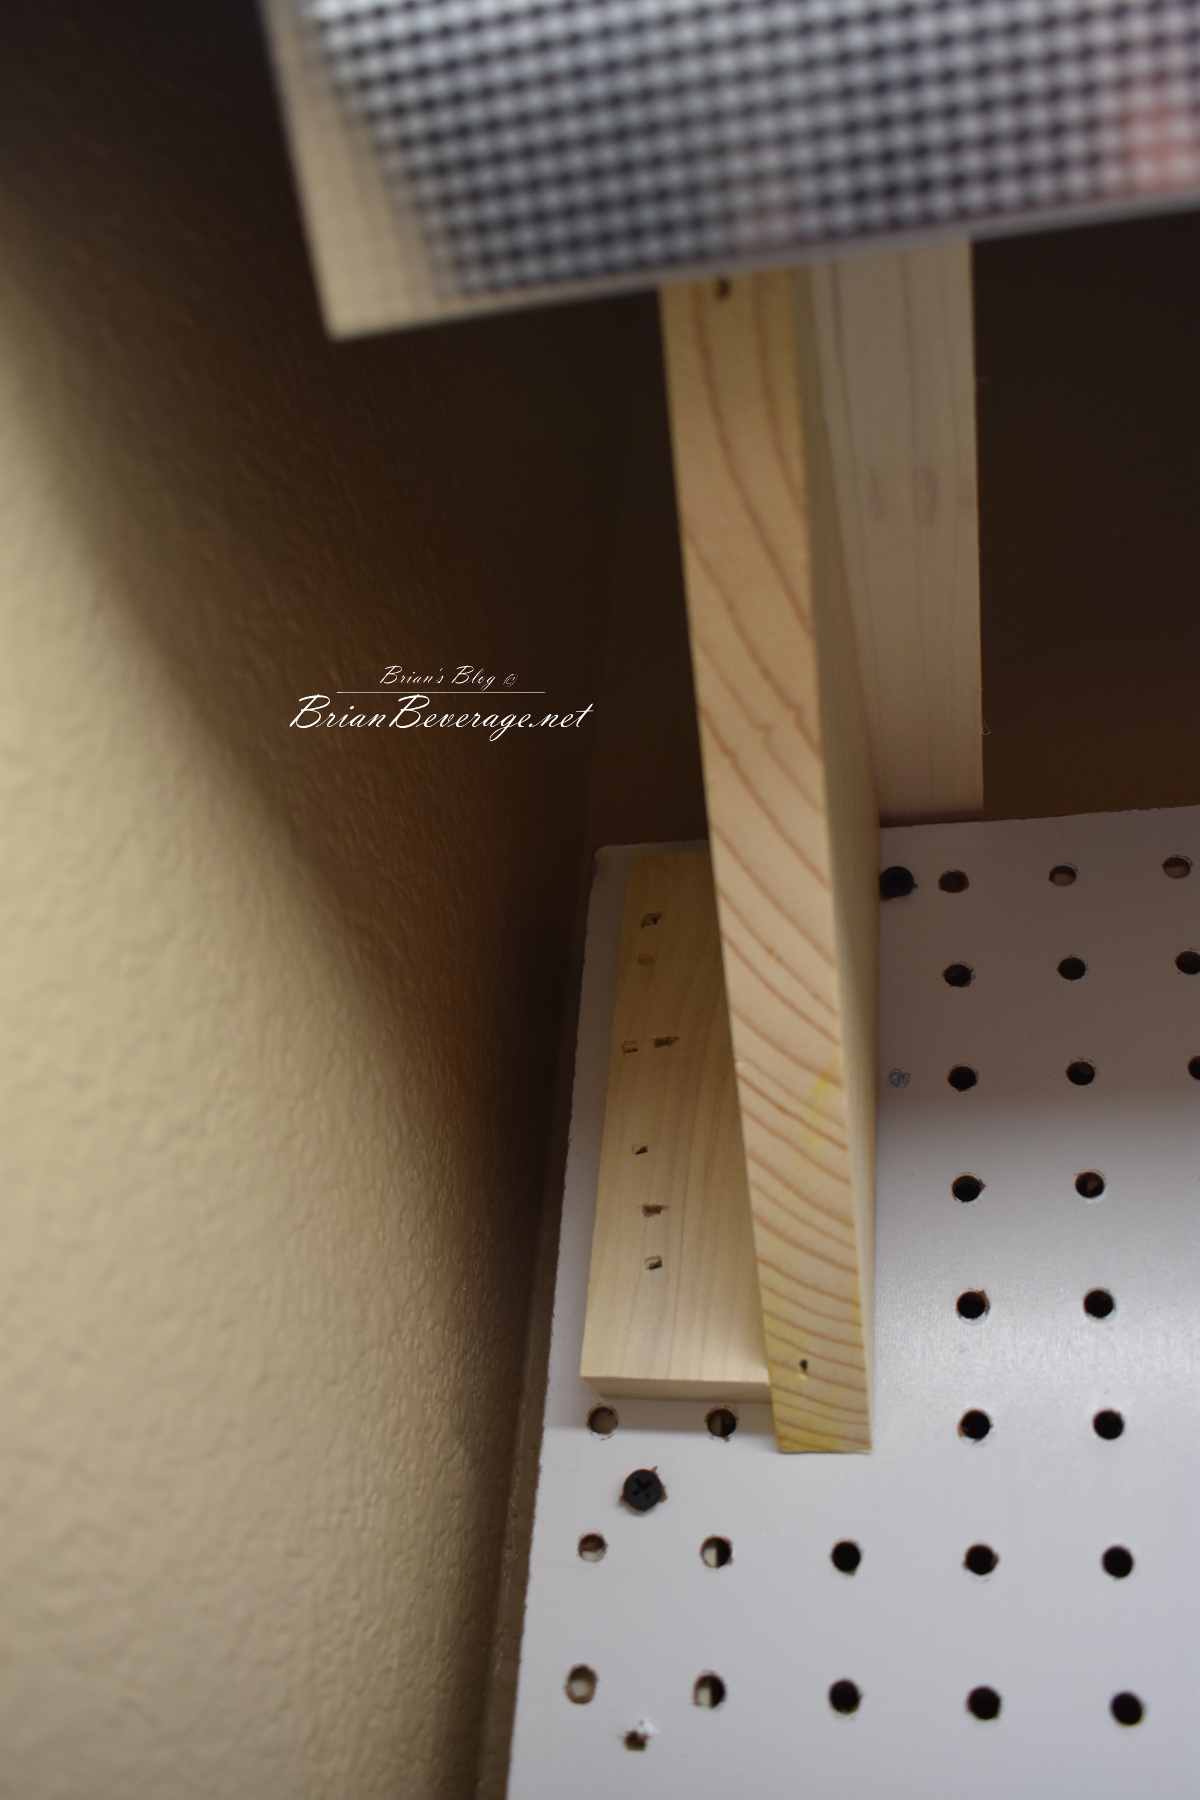
You can see in the above picture how I attach the triangular support to the outside edge of the above 1″ x 2″ x 14″ and it lines up with the outside 1″ x 2″ x 48″ part of the pegboard frame. This works well and I used 2″ staples to attach that to the pegboard frame. Now all you need to do is mount the light! To mount the light I took the above support and screwed a 1″ drywall screw about 3/4 of the way into the center of the support measuring back 2″ from the end of the support. Then I measured over 42 1/2″ to the other support and screwed another screw into it in the same manner. You can then hang the light on these screws by the frame. Like below.

Then this light comes with a normal AC cord so I attached a power strip to the right leg of the pegboard from like in the pic below

This is where I will also power the soldering iron and any other devices that need power. Now it was just a matter of unboxing things I had piled into the bookcase and organizing this new workbench. Below are the pictures of the completed project. I think I am going to be really happy with this setup. I did not spend any time making it pretty like furniture so it is just a decent workspace… It was interesting doing this alone sometimes trying to hold something and attach it was frustrating. That is why I ended up using the staple gun some it just made it easier to attach things using one hand!
The completed project pictures
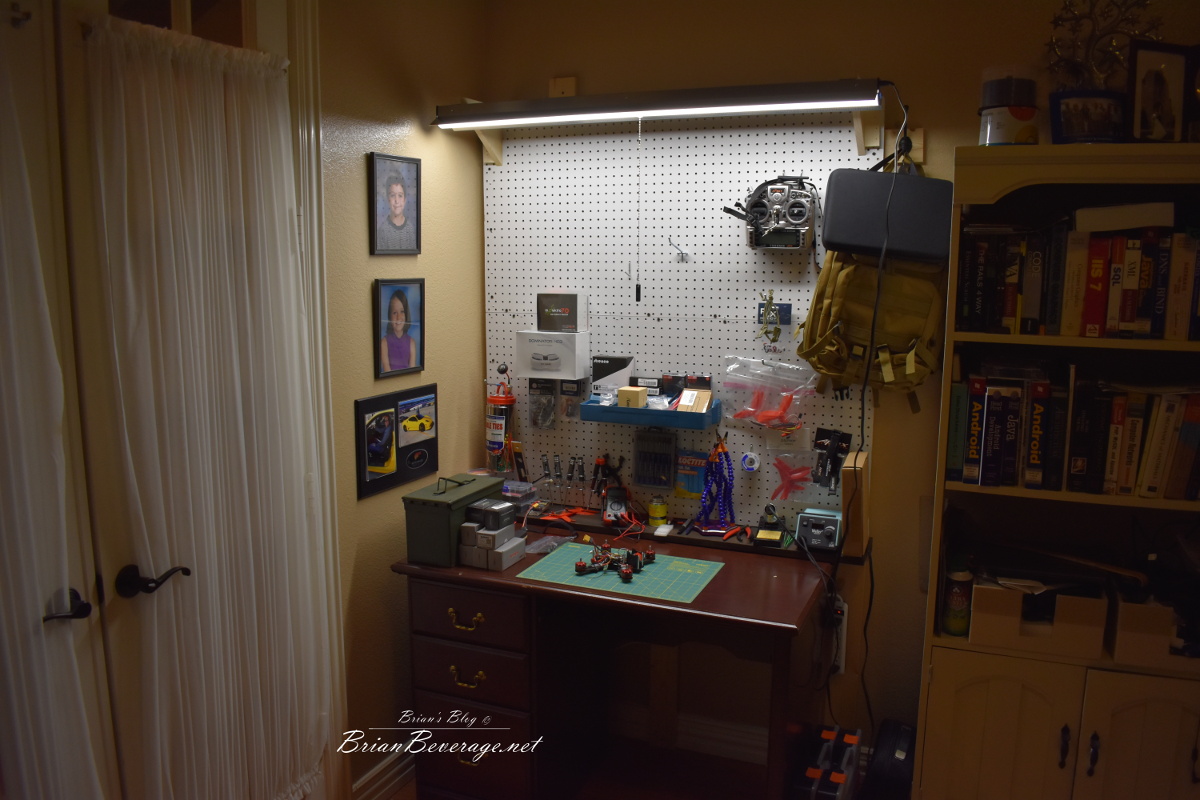
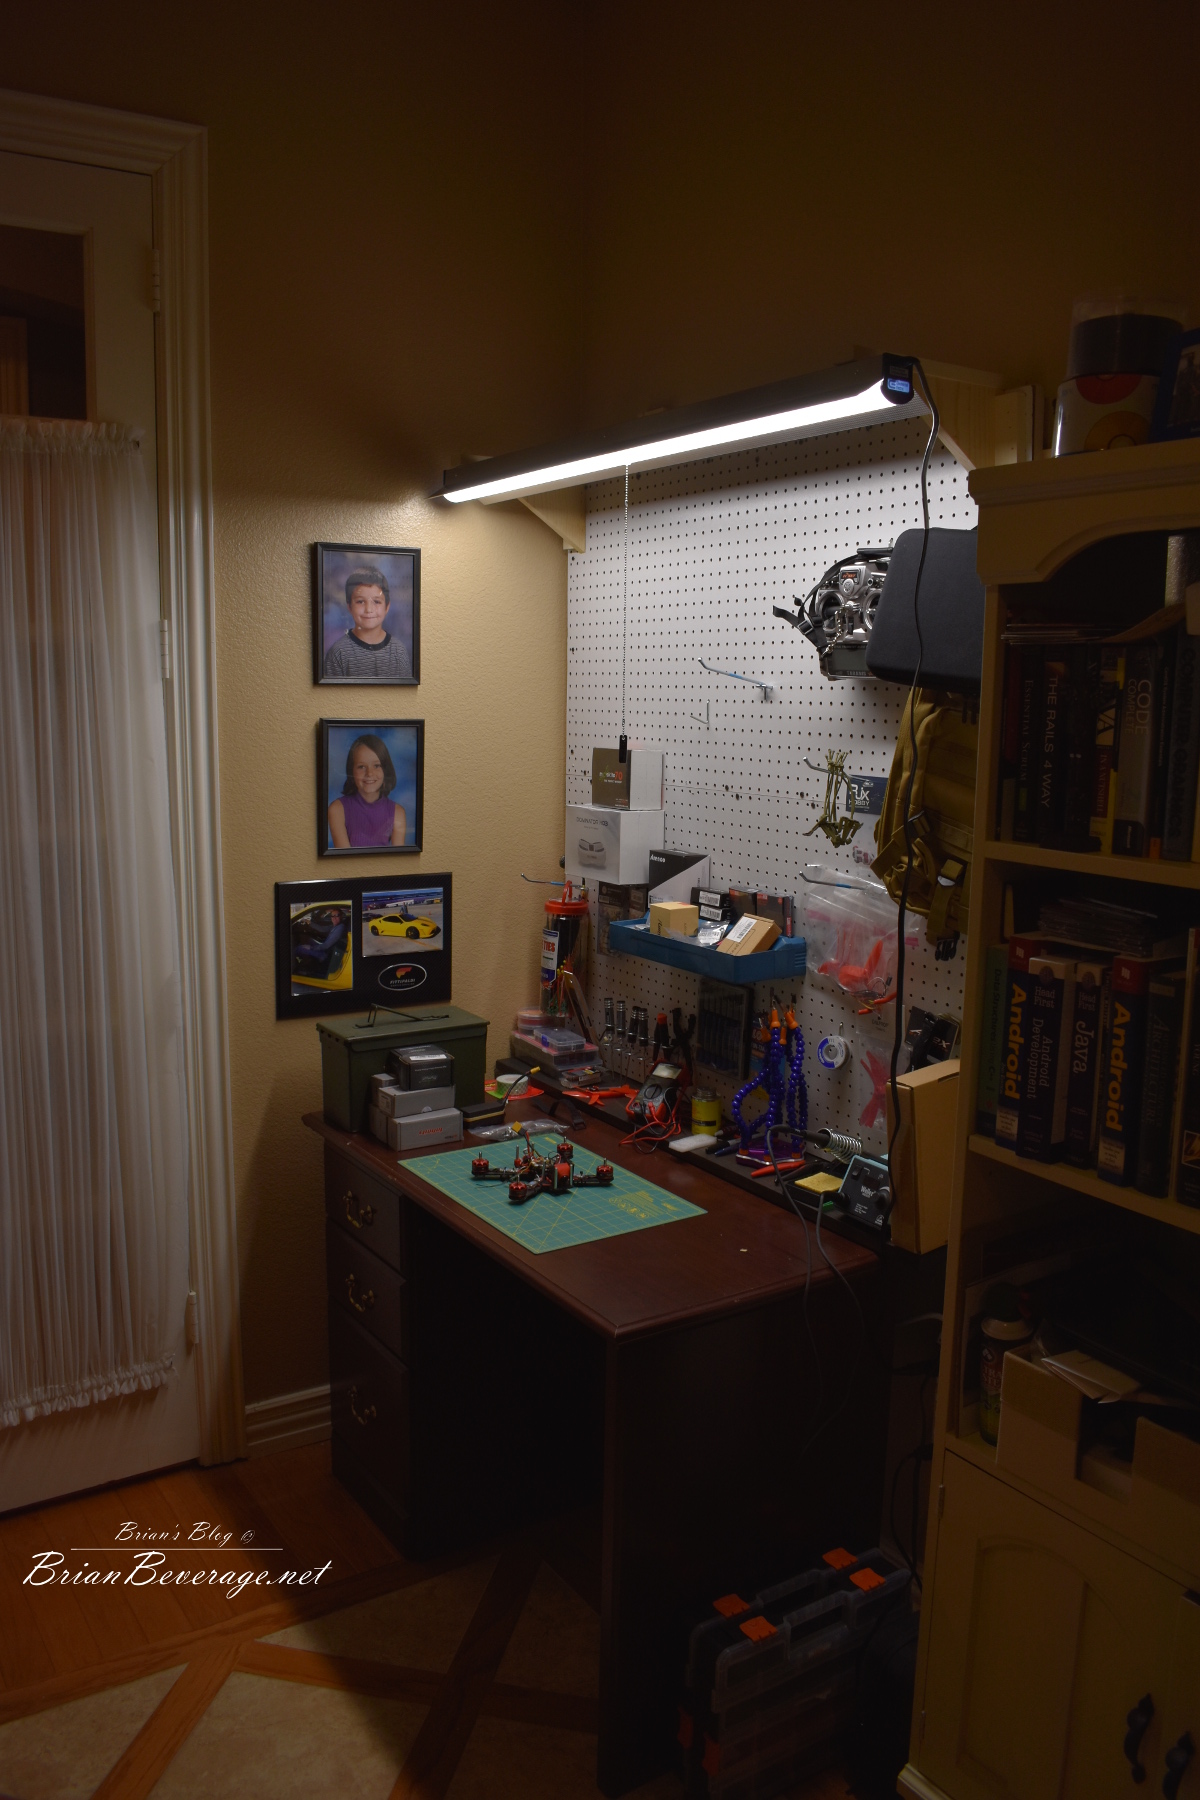
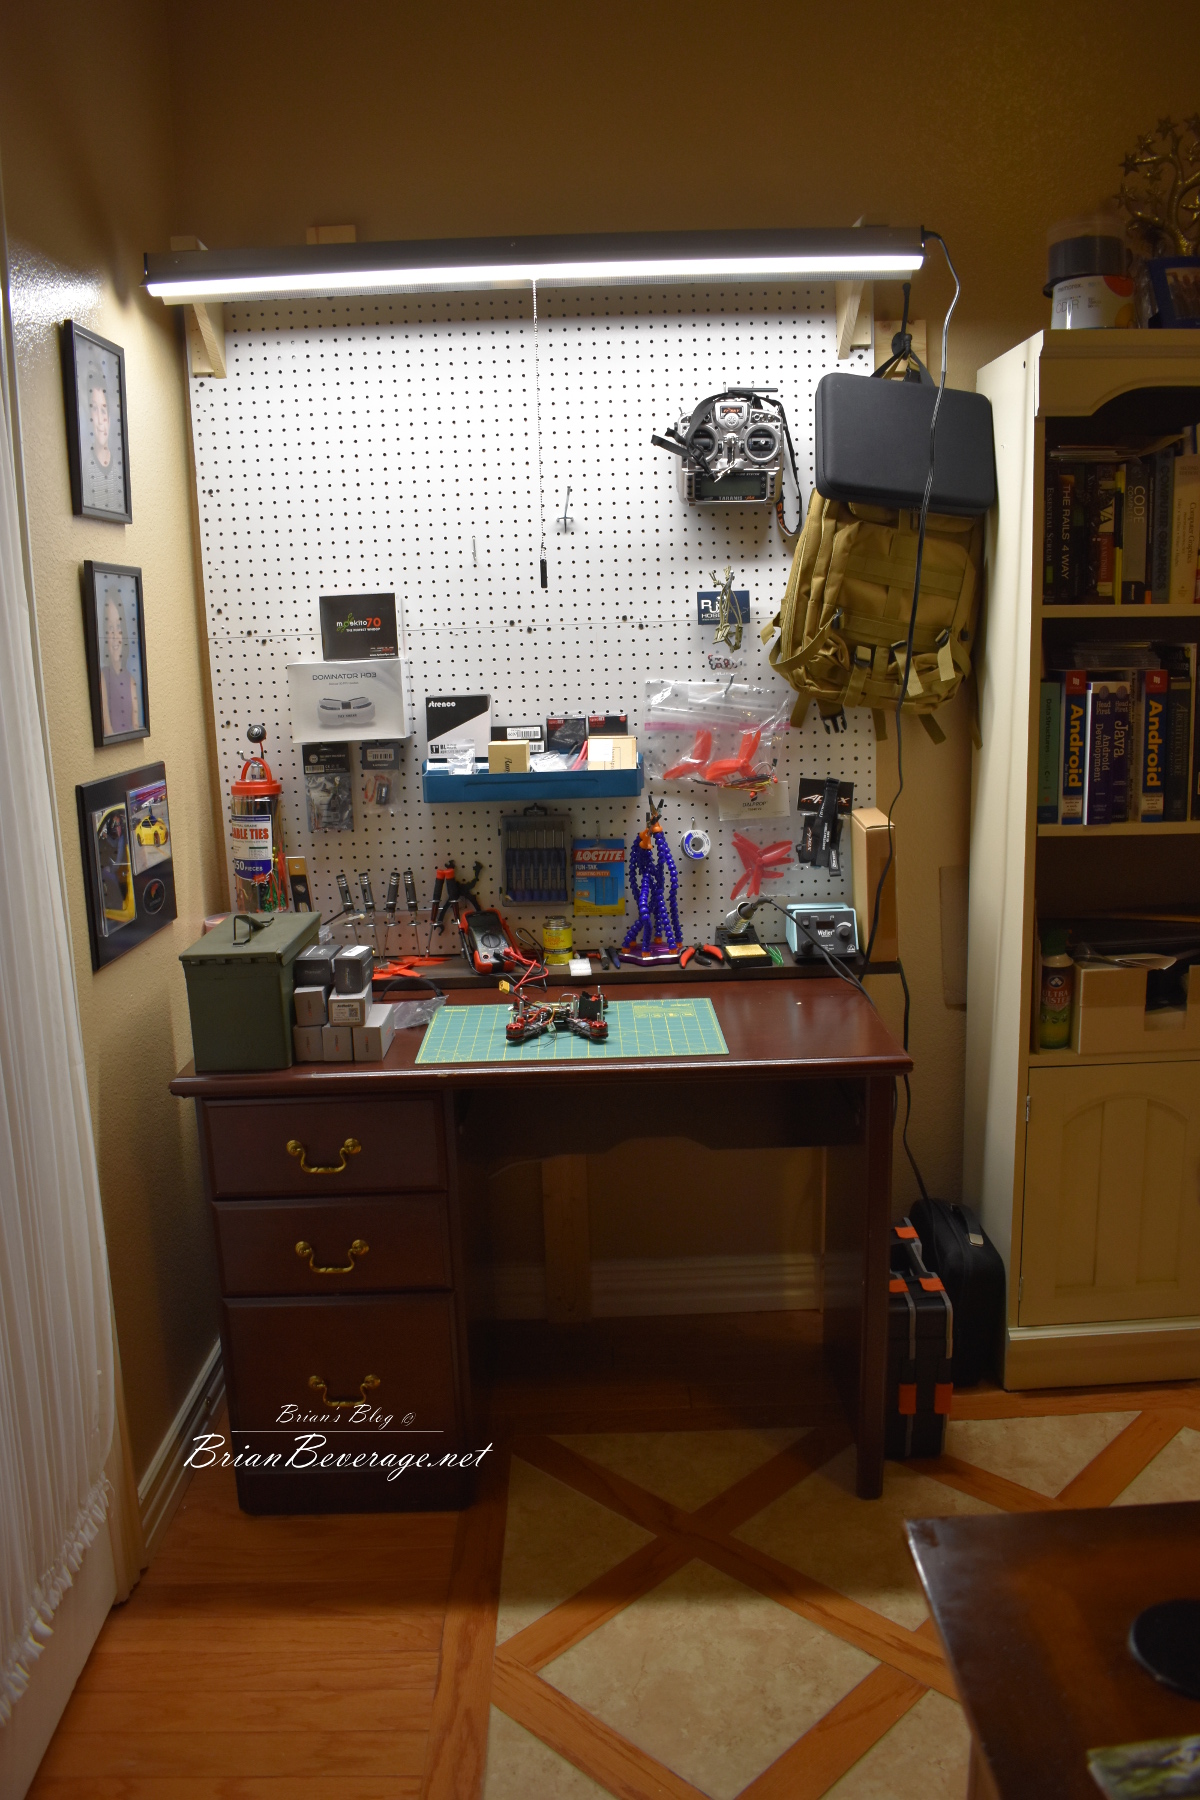
The bookcase picture is where I did have everything. That filled up rather quickly and was so much trouble to work on things. I would end up using my computer desk and then have to put everything up to use the computer. This will be nice since I can work on things and leave them in place as I work.
I will have some unboxing to do in the next blog post. I should also have some FPV posts since the things you see in this workbench post will be getting opened and used. FPV Goggles, VTX, and a tiny Whoop drone! The tiny whoop drone is also FPV but its small enough to fly in the house!
until next time, I hope you return from “The Dot of Despair” 🙂