We have a sprinkler system with one of the zones in the front yard that has a drip watering system for the potted plants. It was leaking and the sprinkler head beside it was leaking as well. We also wanted to, instead of running the drip line across the sidewalk, have a drip head on each side of the sidewalk. I also wanted to add a shrub head about 6 feet down from the new drip head for better coverage.
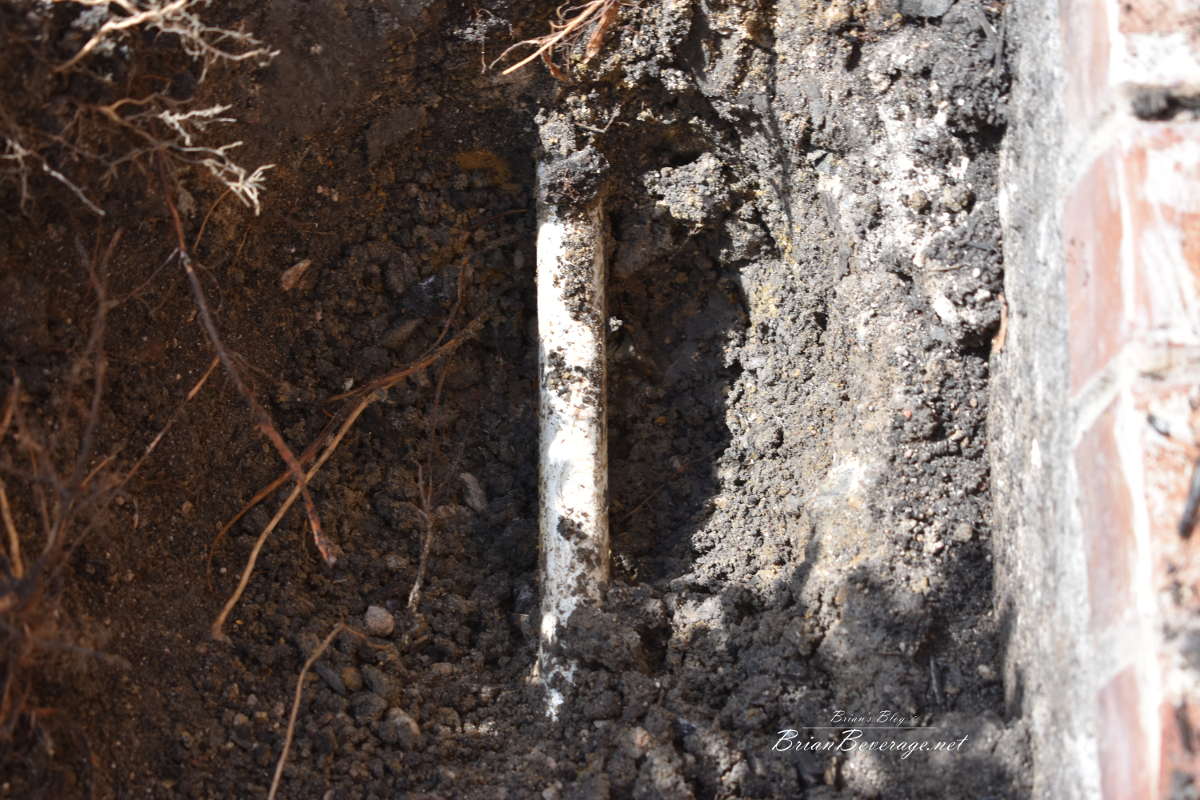
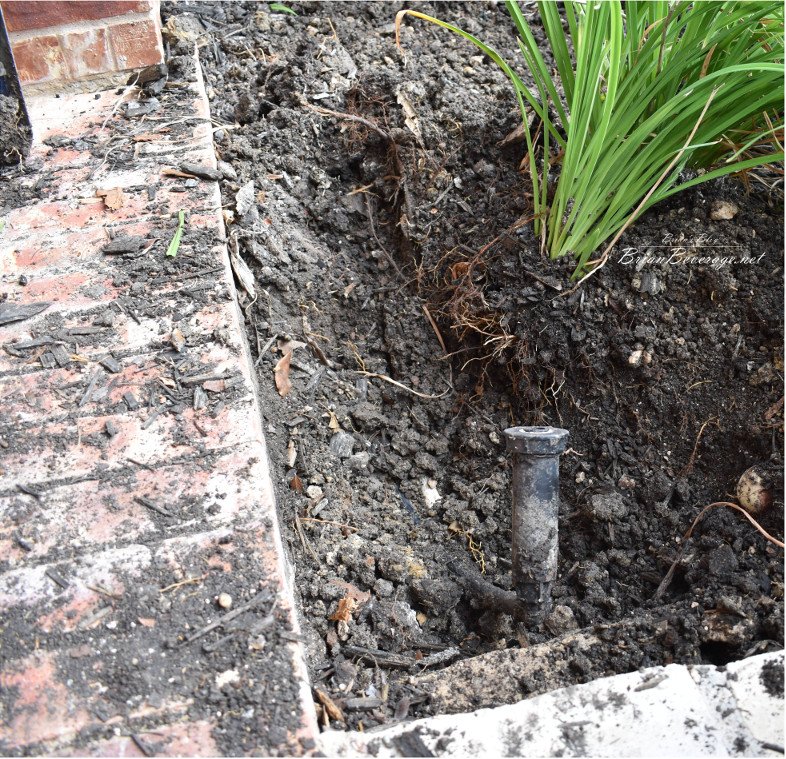
I started by digging the 3 areas.
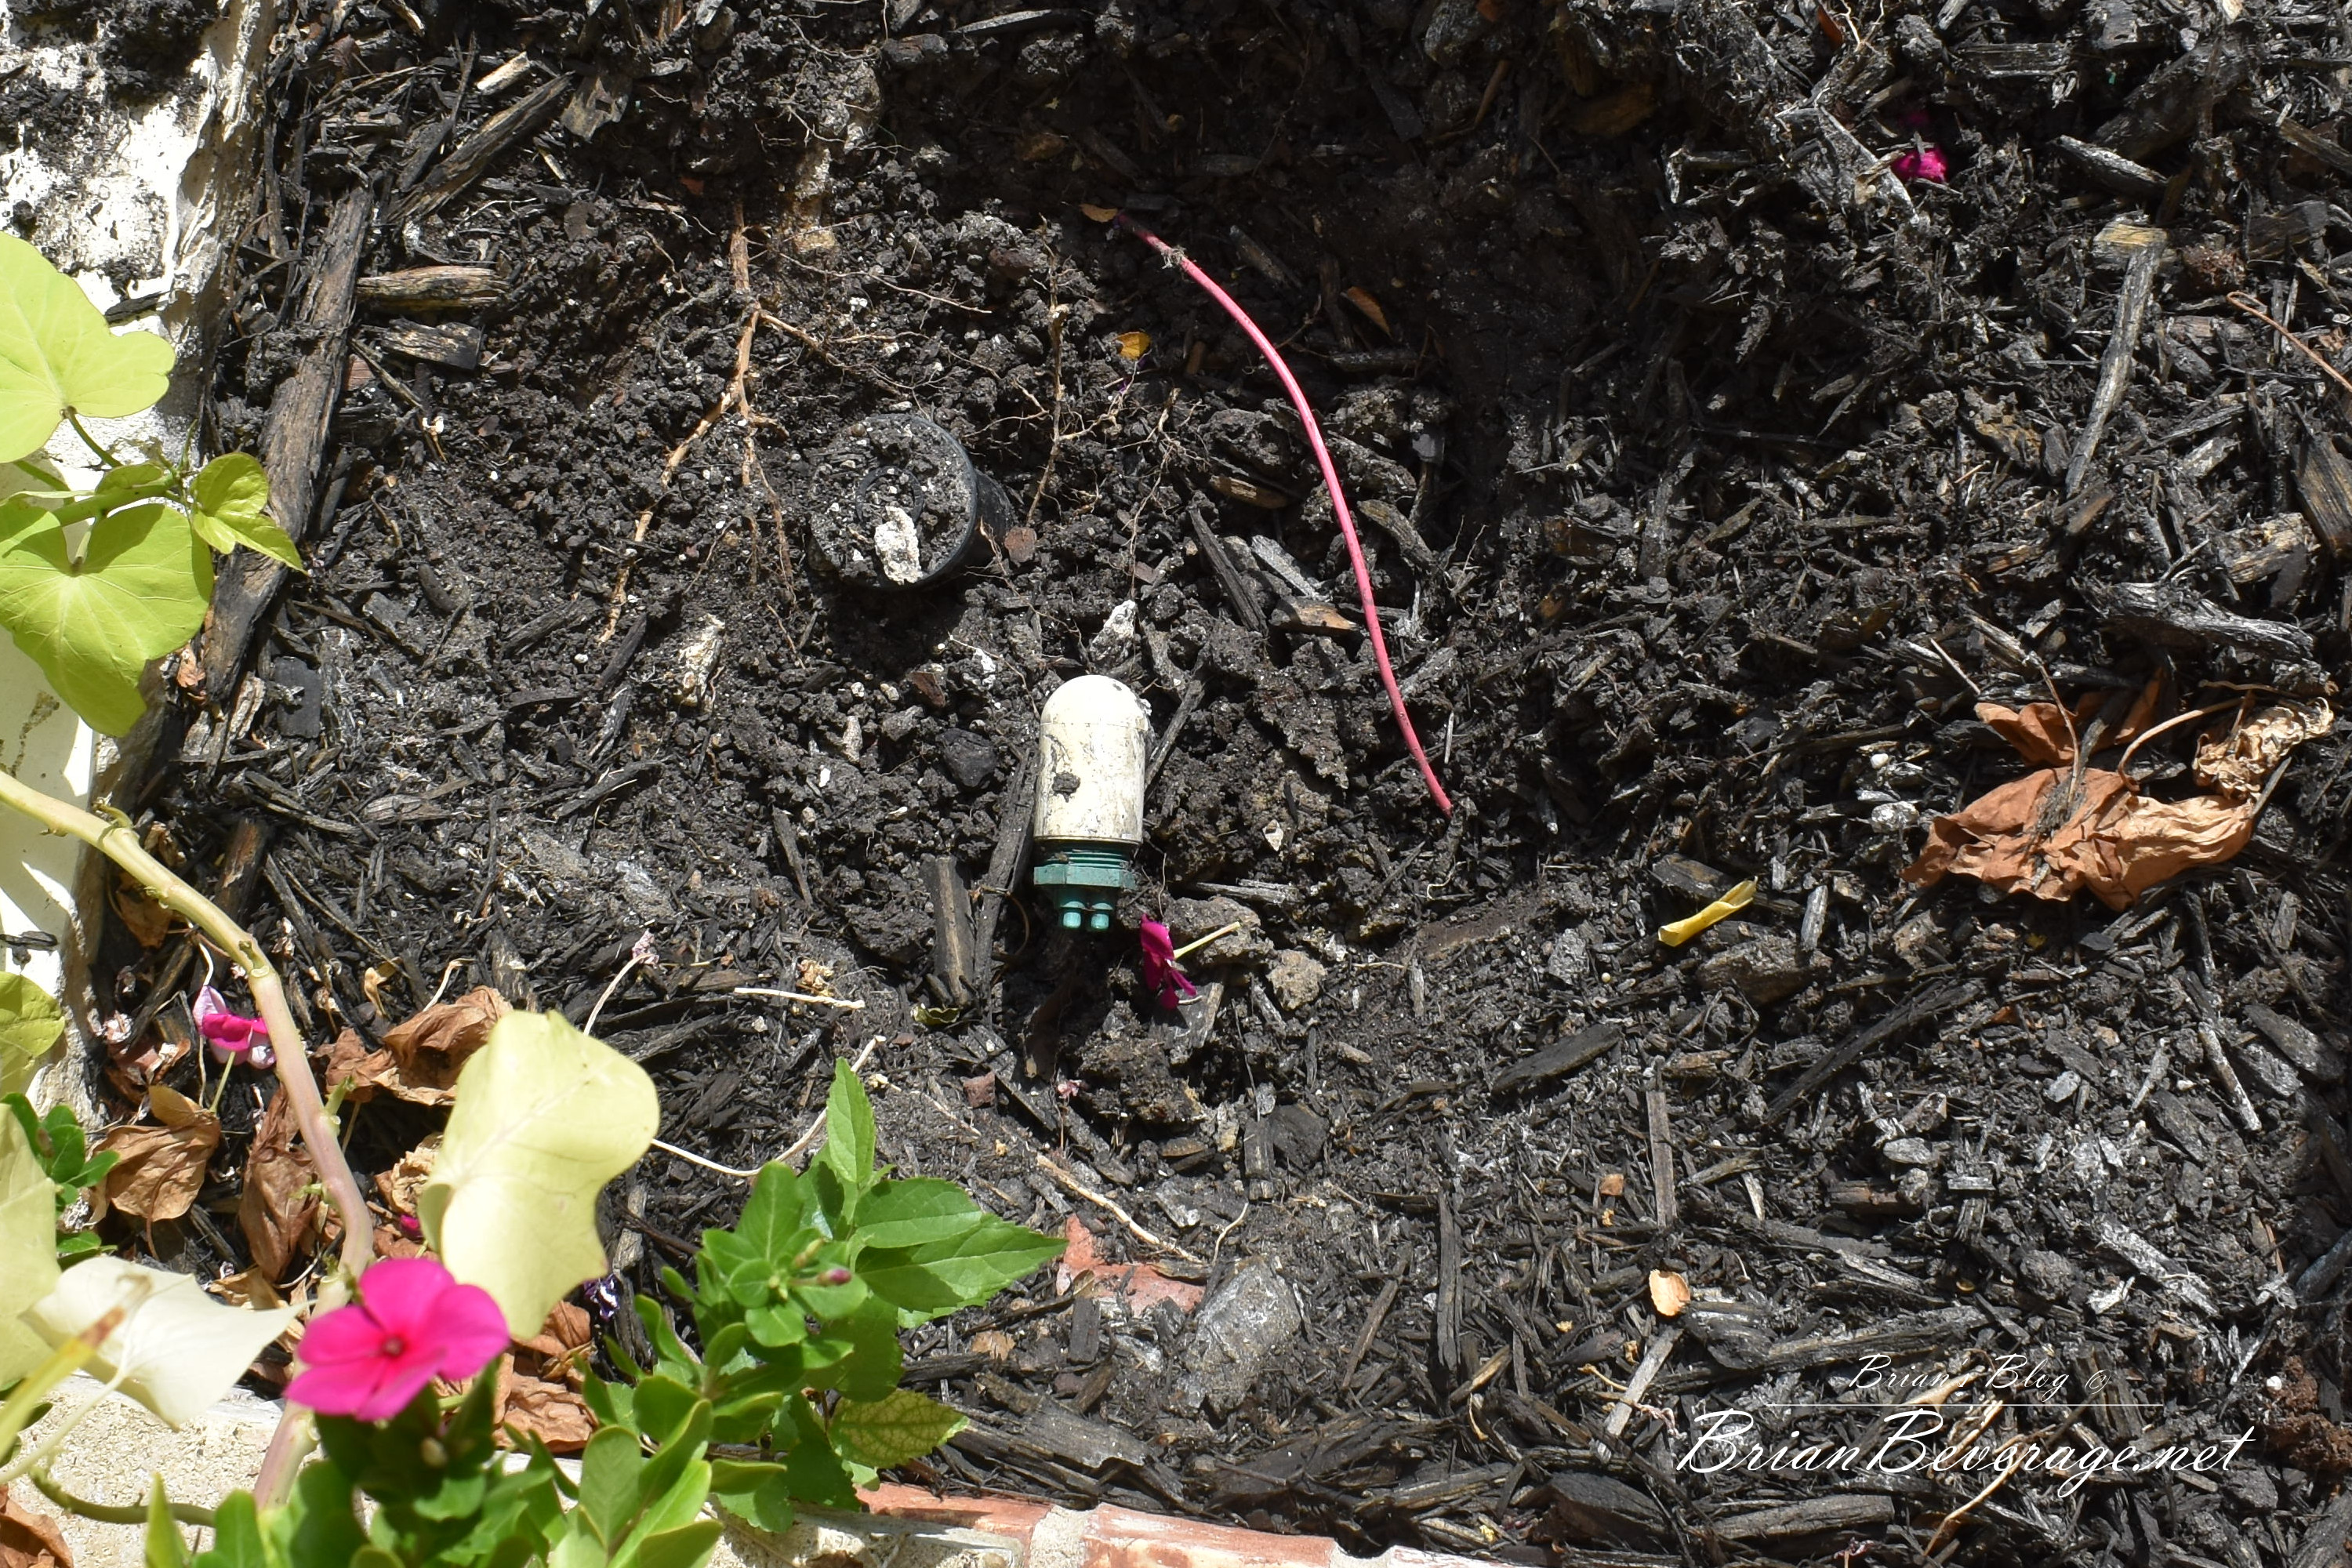
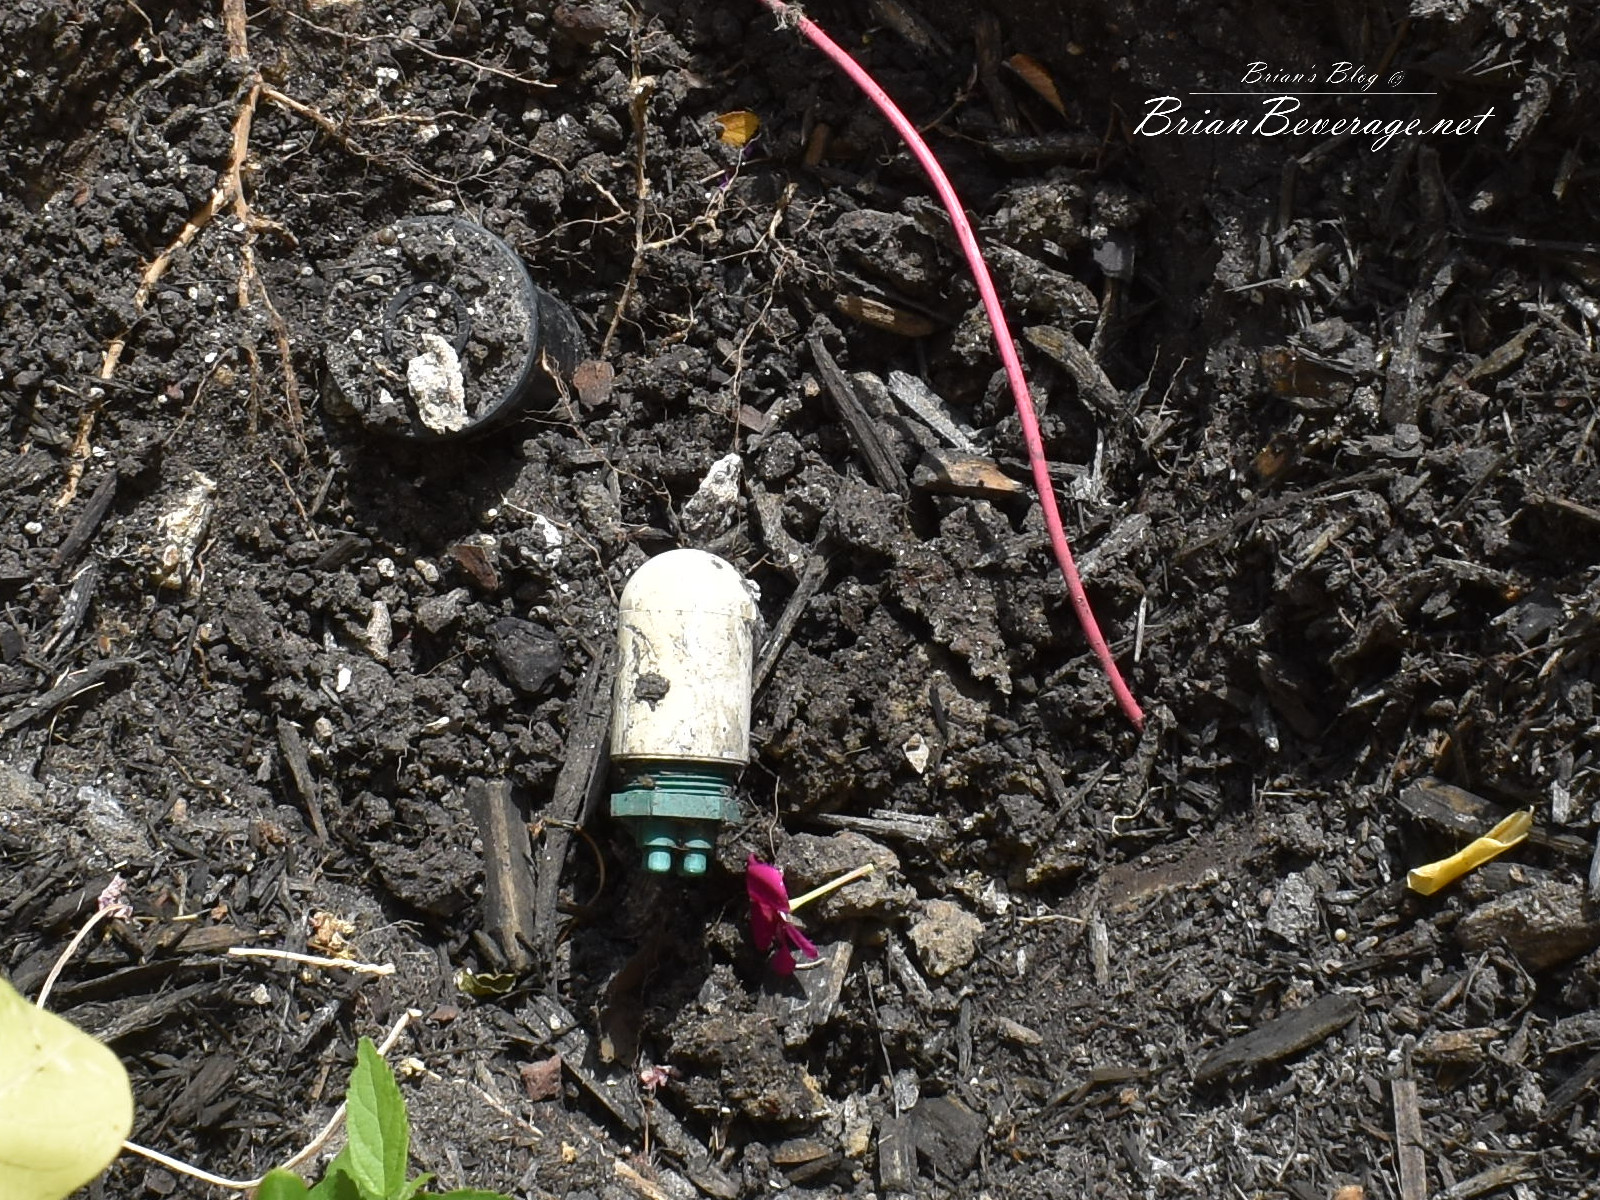

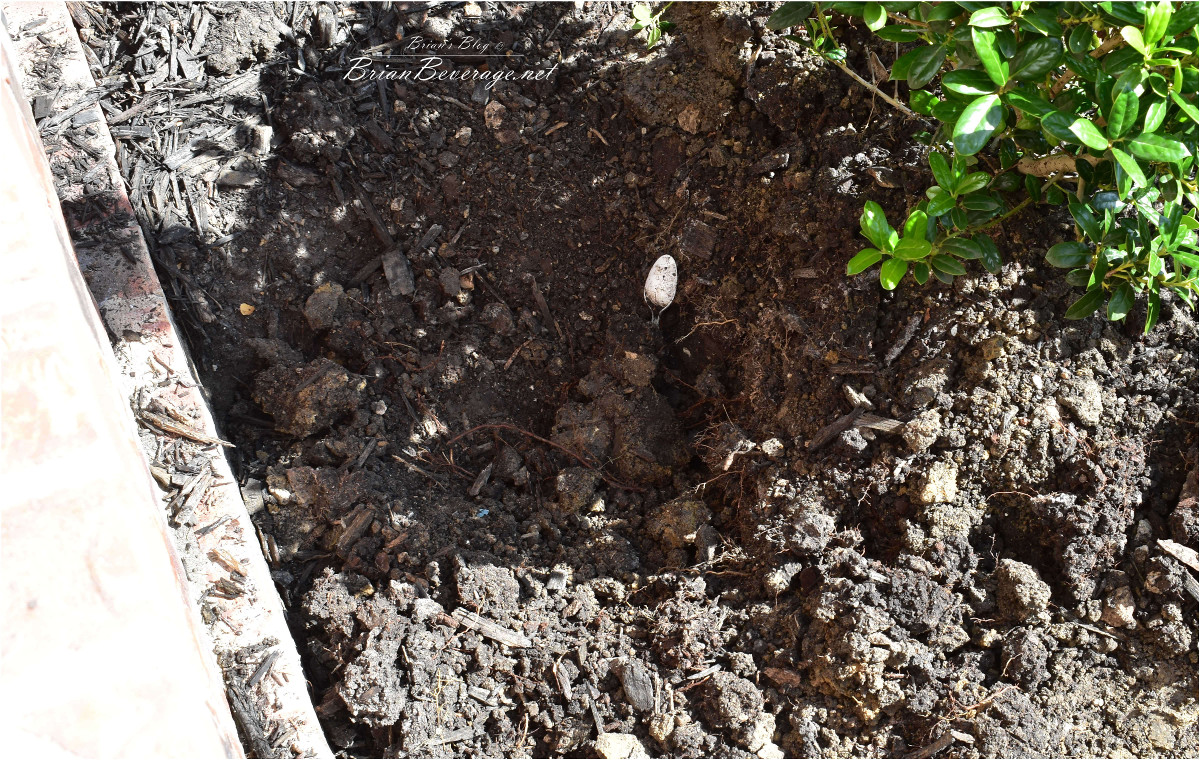
Eventually, I made it down to the PVC pipes!
Next, I needed to design what, and how I was going to incorporate the new shrub head and drip heads into the current layout. What I discovered was that Rain Bird makes a sprinkler head that allows you to just attach the 6 port manifold connector drip head directly to the sprinkler! This was by far the easiest way to go to get the drip line to the other side of the sidewalk without going over the sidewalk.
My options were:
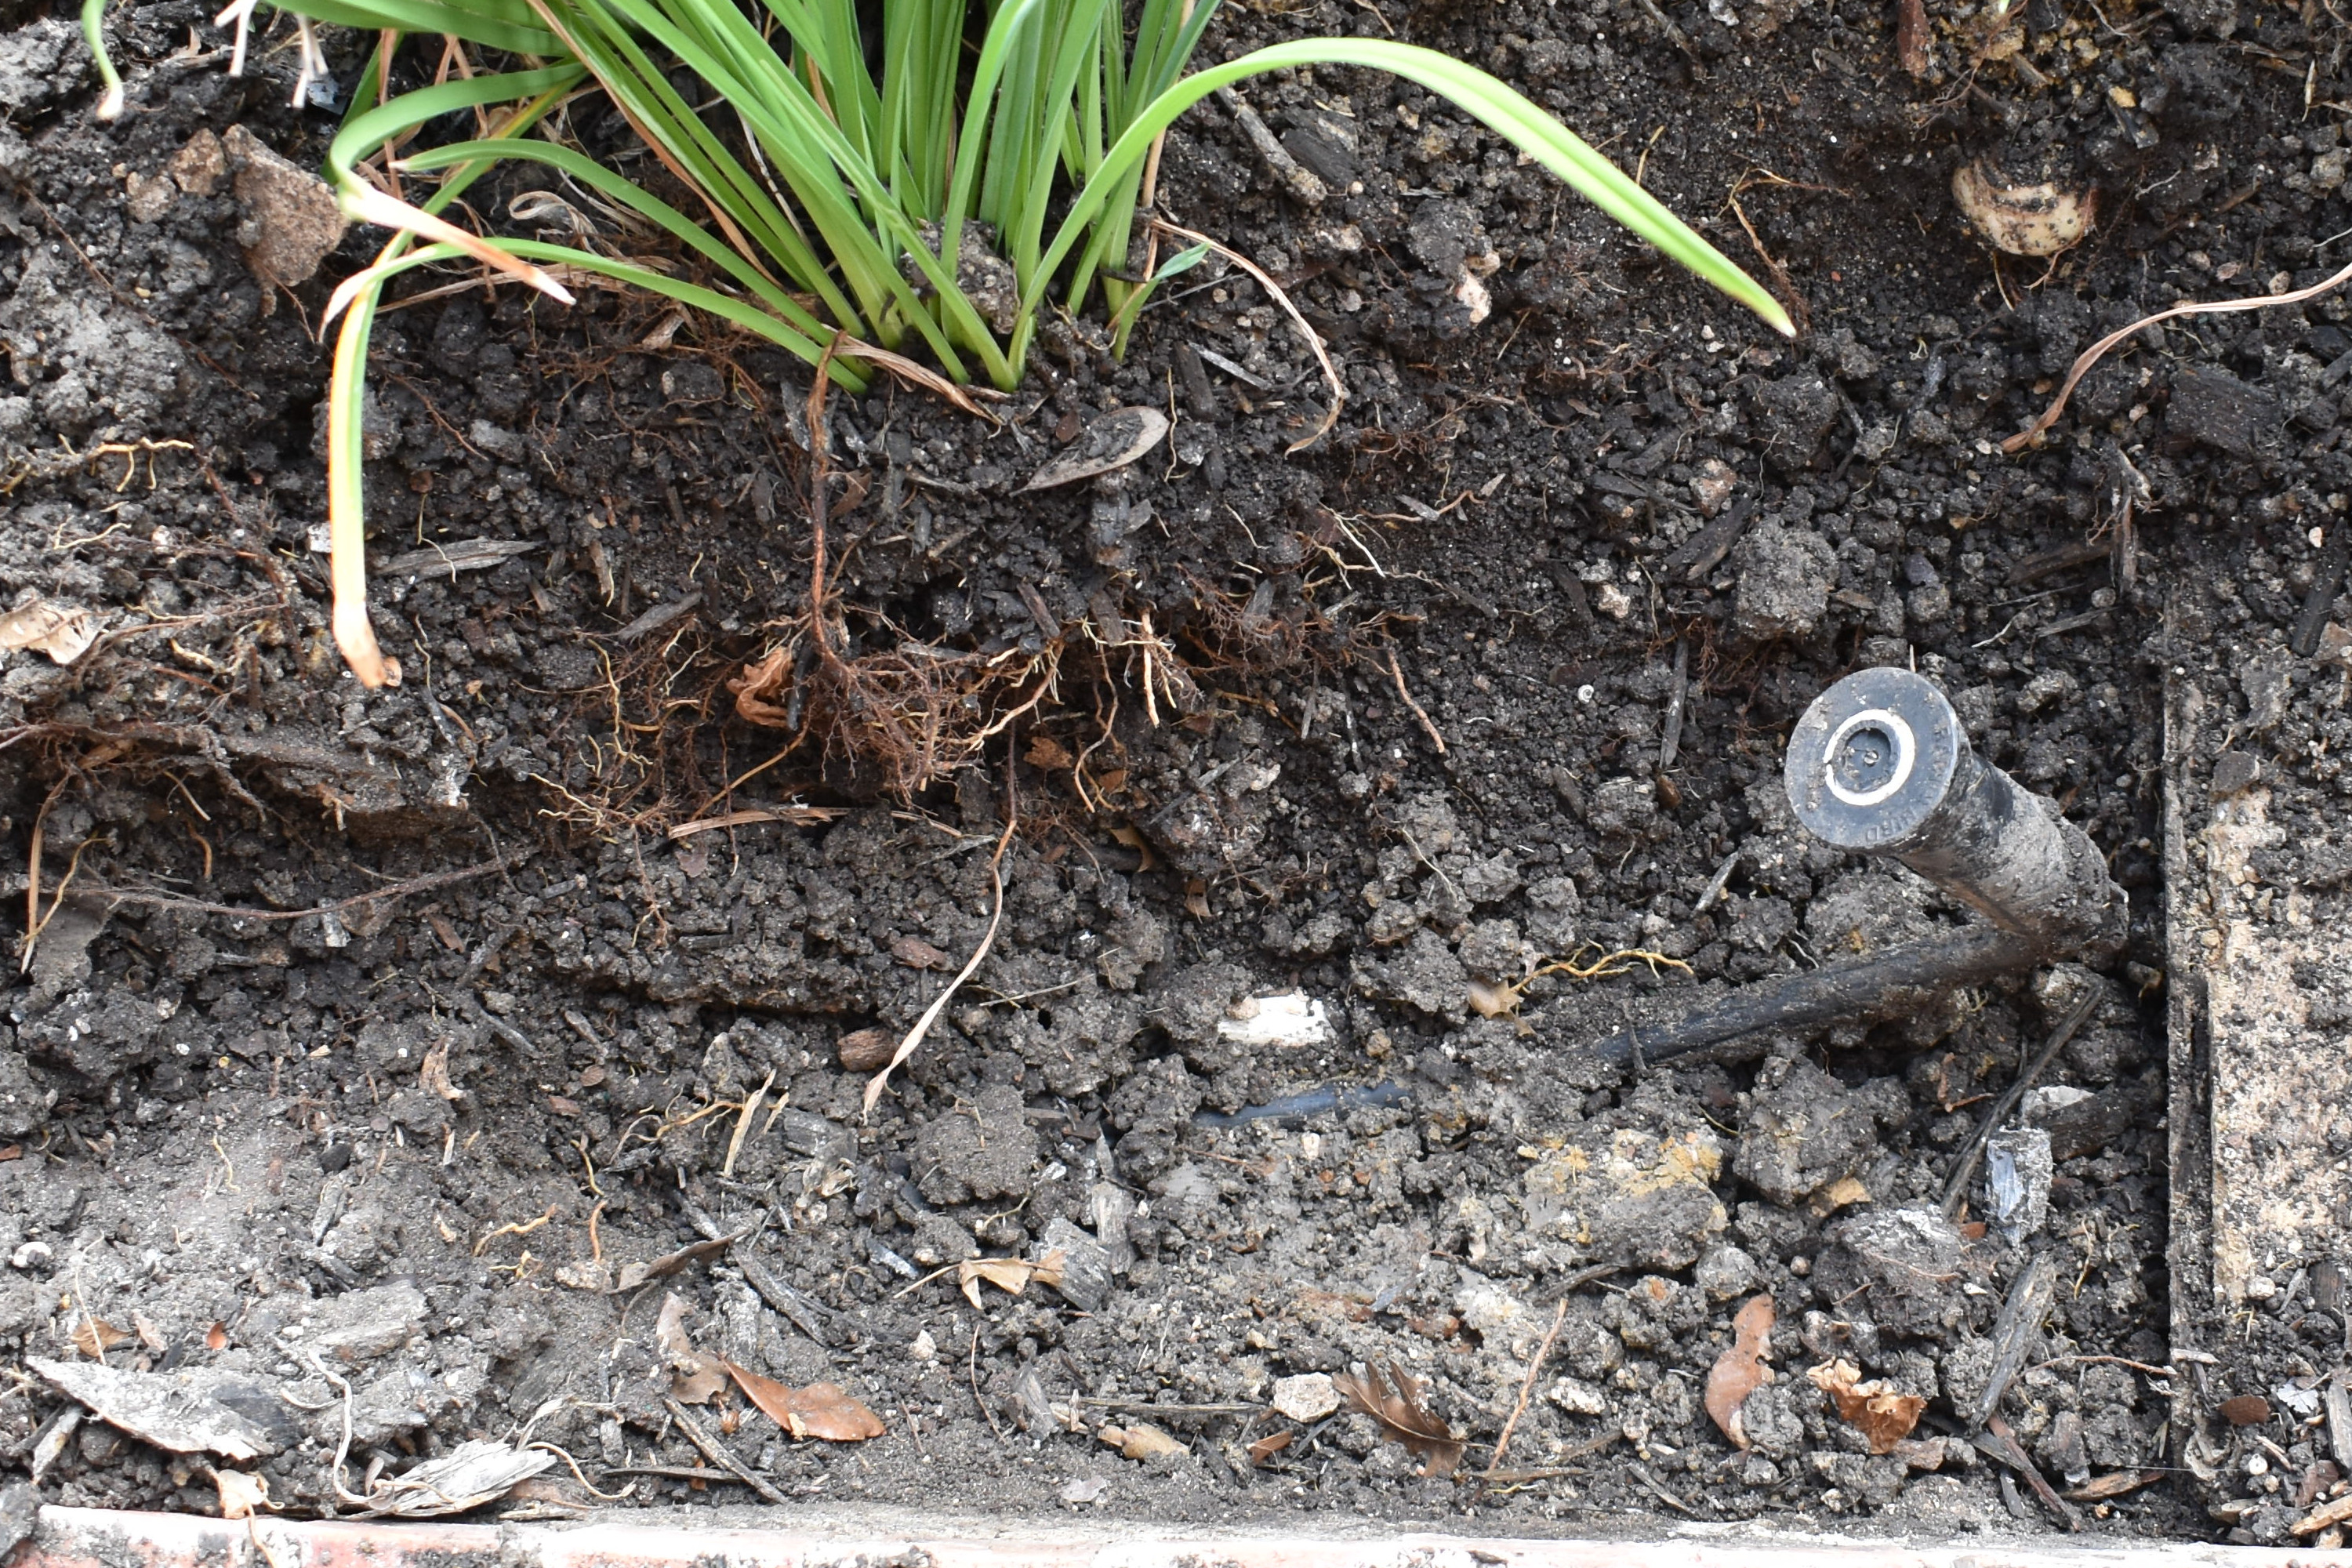
1. Cut the pipe and add the T, pipe and 6 prong drip head then relocate the current sprinkler head a bit. It is located behind the lilies so they were stopping the flow of water. I was not certain if I even had enough water flow to provide the current sprinkler head, the new shrub head and the new drip head with water.
2. Convert the current sprinkler head to the drip head and add a srub head about 4-6 ft down from the current head. This should work well since I am only adding 1 sprinkler head and then using the current head to provide the drip head for the potted plants. This is the option I chose to do.
So I drew out what I would need to make this happen. That was what I took to Lowes with me for my shopping list. I am no artist but it got the job done!

I also purchased a 10′ X 3/4″ PVC pipe knowing I will probably use more at some point in the future. especially since it was only a few dollars and they wanted like 3.00 for a 2 ft section. I also bought a pair of PVC cutters which BTW are not very good at all for 17.00. I would not recommend them at all.
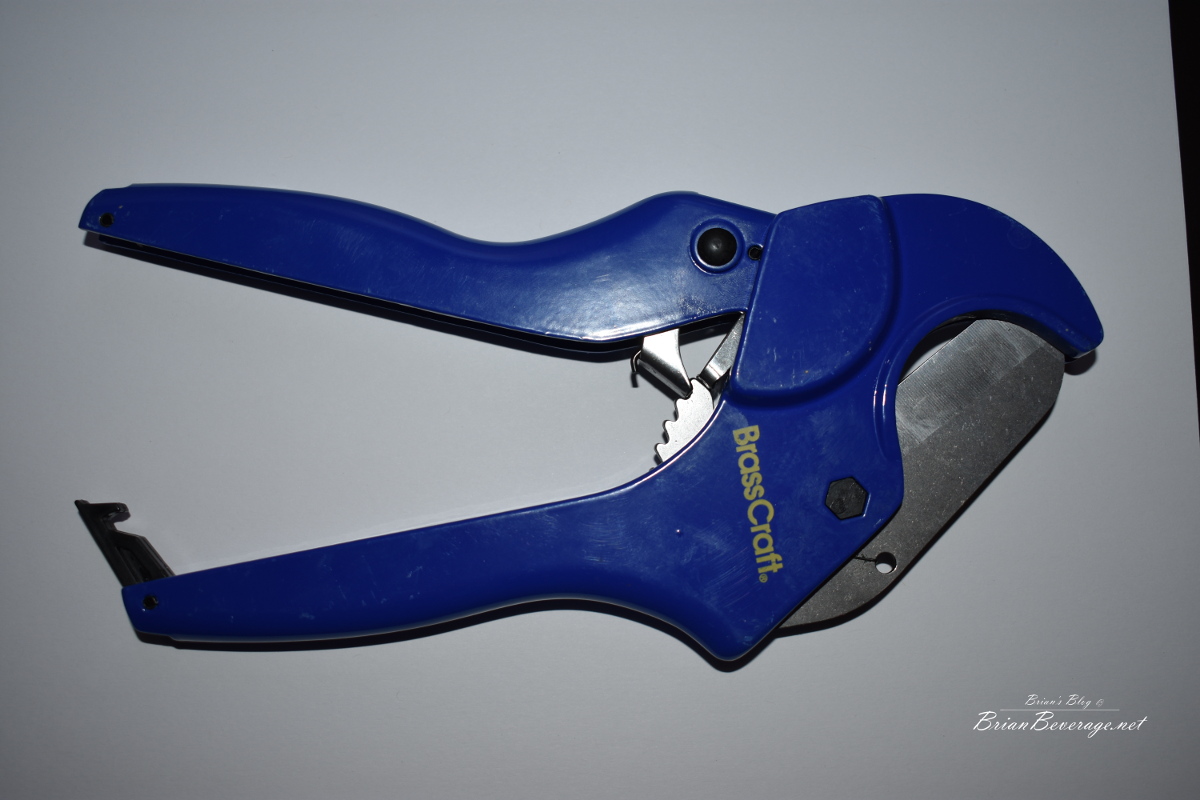
They worked but you had to kind of get it to cutting or it would just crush the pipe before starting to cut. If you get some pressure on it then rotate it a little it would start to cut then you could finish ratcheting through the pipe. The selection at the local Lowes for these ratchet type cutters was slim and none. They had this one for $17.00 and a $35.00 pair. I went with these they work just not as well as I would like for $17.00….
Here are the after photos. I have not been able to do the conversion of the one sprinkler head to a drip since they did not have it locally. I ordered it from Amazon and it should be here on Monday. I will post an update with pictures of that and how the swap out goes. I expect it to be really easy since you are basically just replacing the sprinkler head and adding a 6-port drip manifold on top of it.
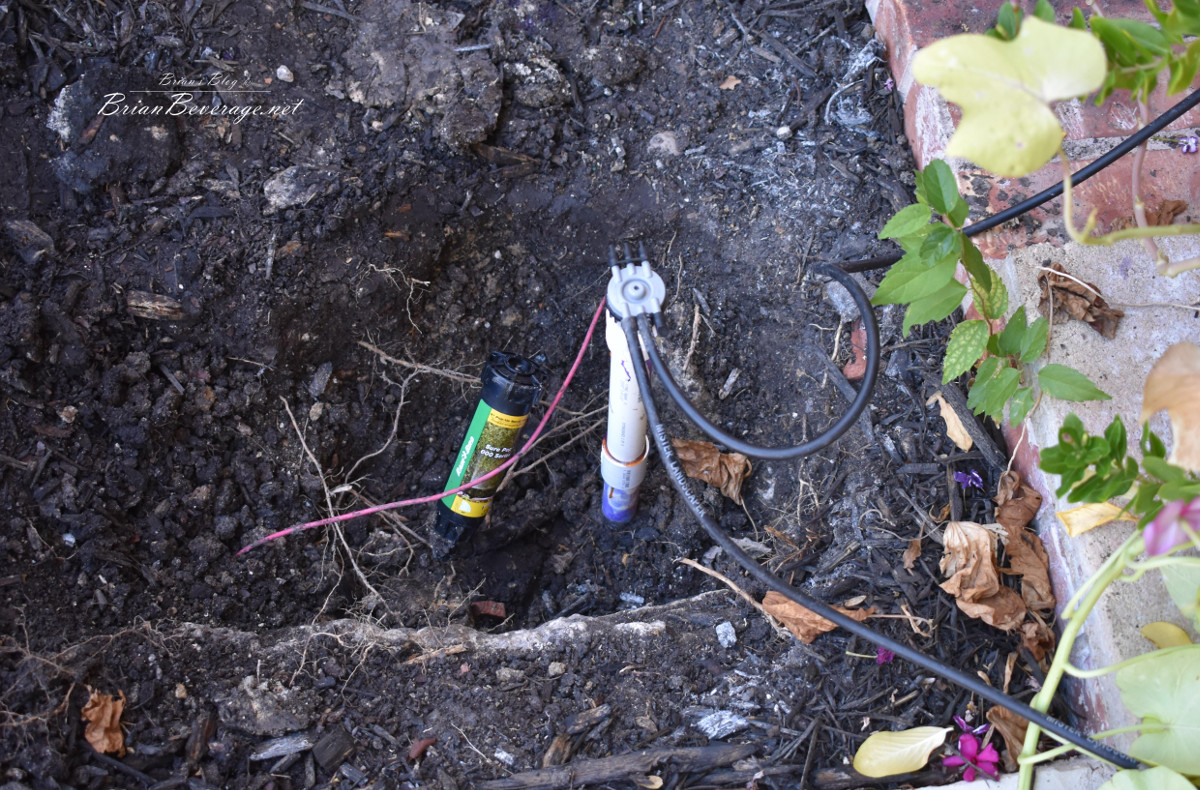


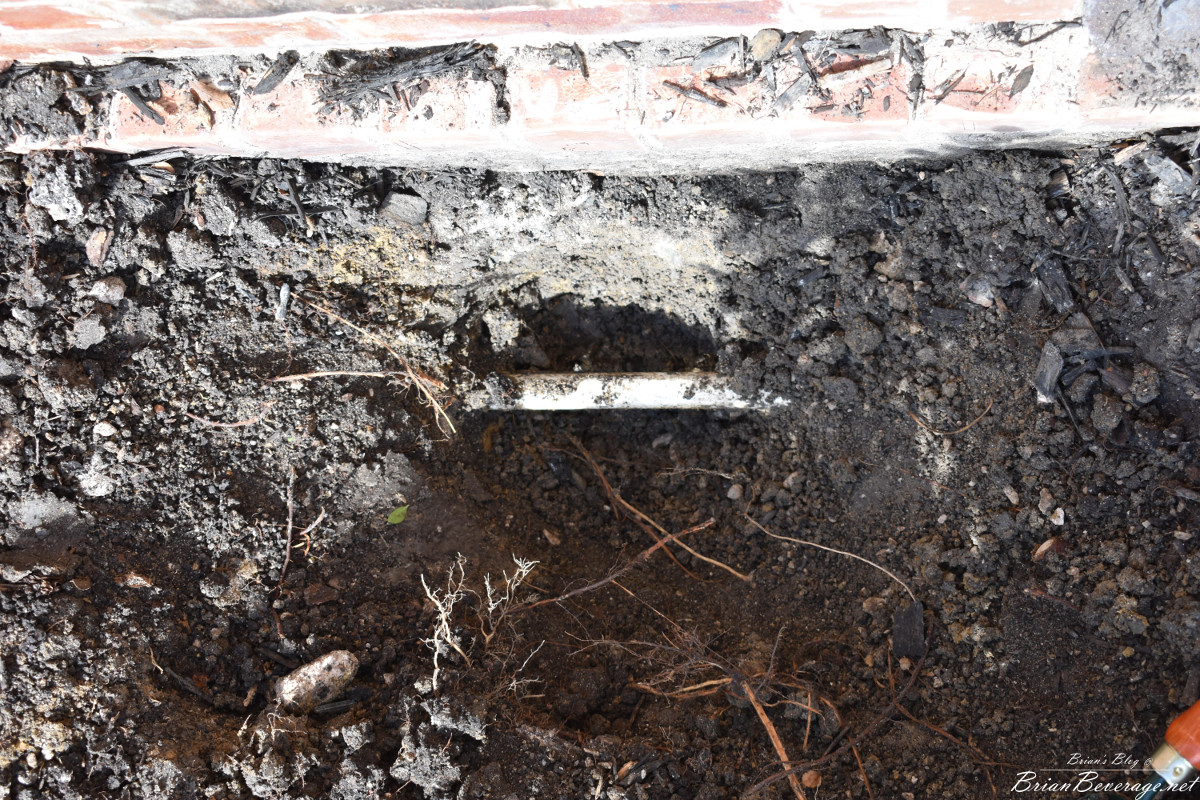
You will notice in the shrub head picture that I needed to dig out more PVC so I had the flexibility to get the T between the pipes. I also cut out a section of the PVC the exact width of the shoulders that the ends needed to fit into the T. This worked but it was not pretty getting it into the T. Having it to do again I might have just cut out more and attached a patch pipe. I let the glue set overnight and then the confirmed we had no leaks and adjusted the heads. Here are the finished heads.
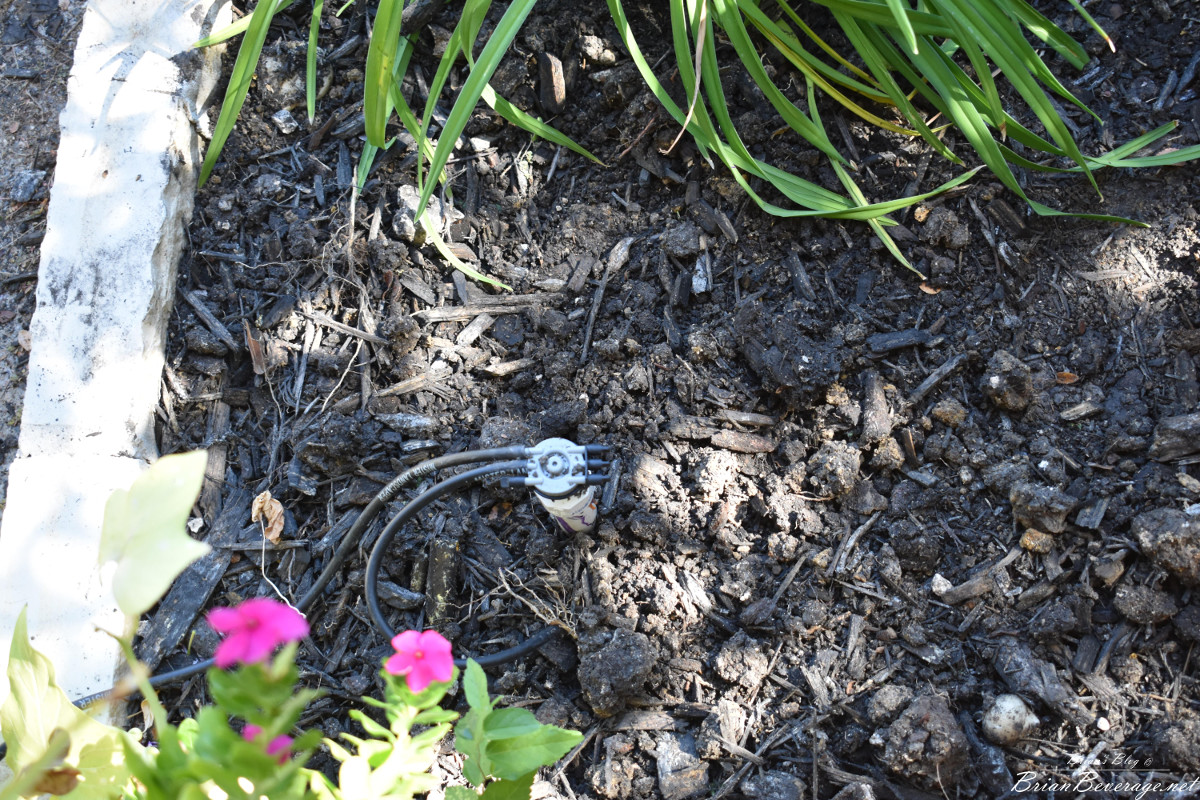

I still have that last head dug up and will get that replaced Monday and cover it all up. I will post a pic of it once I get it covered up. I think with it I might need to build a riser to get it well enough above the dirt line. We will see if I do that or just adjust the position of the head.