How to wire the power supply for an
ISDT Q6 Plus Charger
Here are the items I purchased through Amazon:
Charger:
ISDT Q6 PLUS Orange Version
ISDT Q6 PLUS
Power Supply:
DC 24V 15A Switching power supply
Power Cord:
10 ft Universal 18 AWG power cord
You will also need a computer cord to cut up and attach to the power supply. This will provide power from the wall in my case 110V.
Written Instructions:
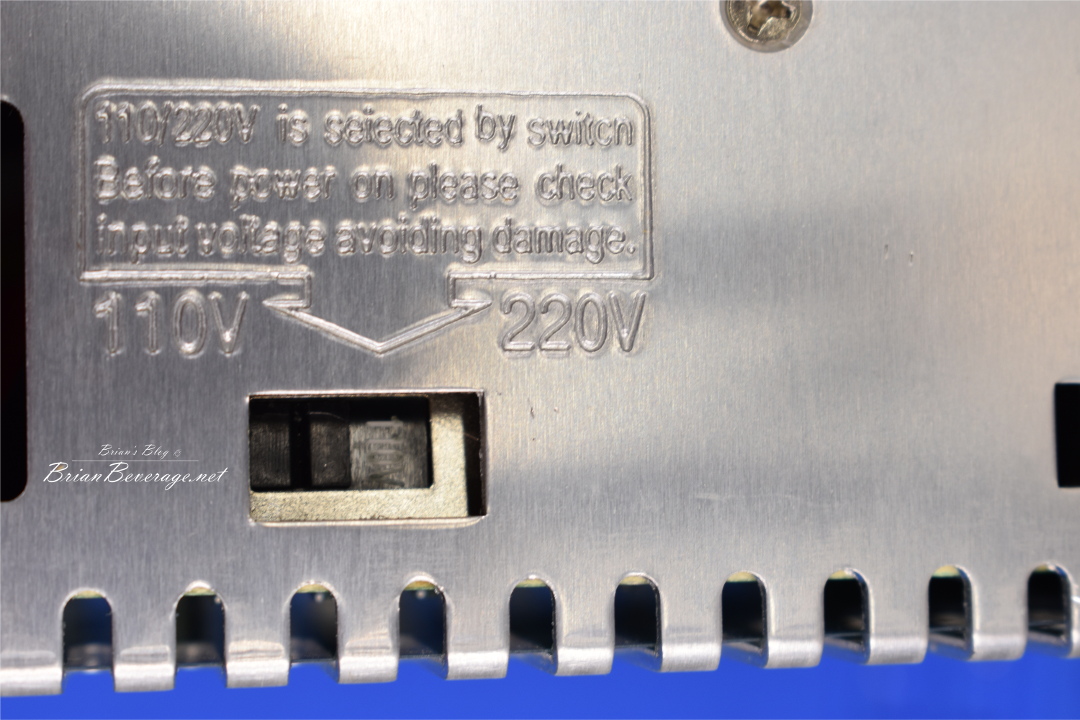
- Now the first thing you need to do is check the switch on the side of the power supply and make certain its set to the voltage you are going to use.

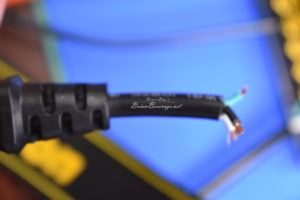
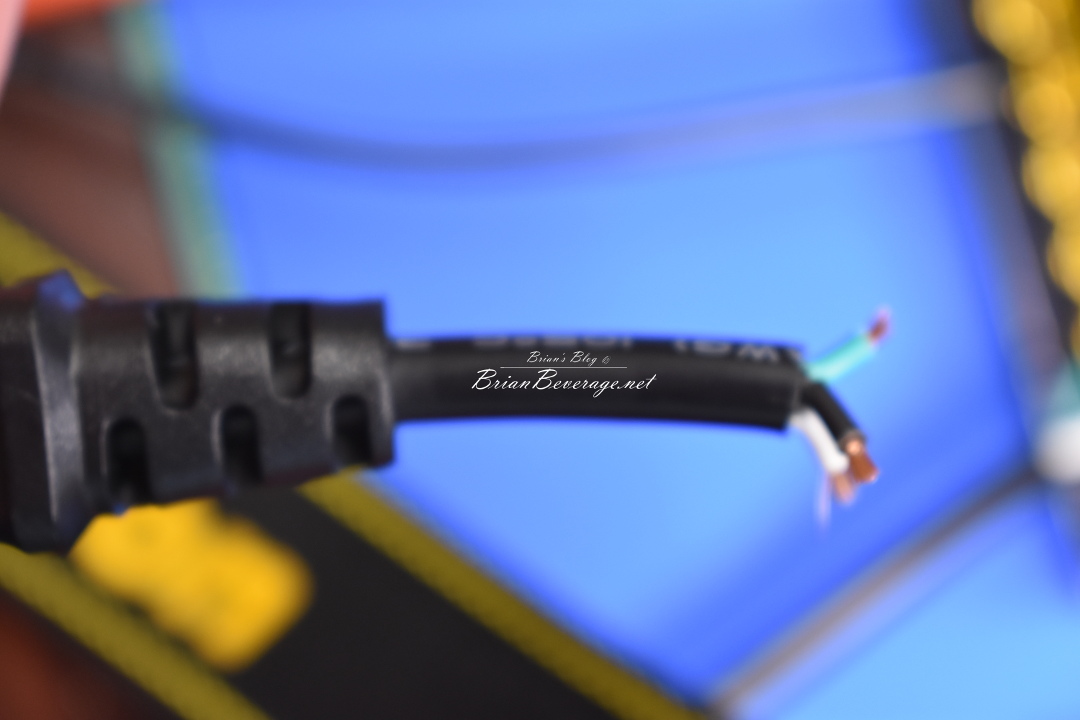
Input power switch - Take the power cord and cut the end that plugs into the computer off. you want to leave enough wire on the end coming off so you can trace which wire goes with what polarity. EG: Power, Neutral, and ground.
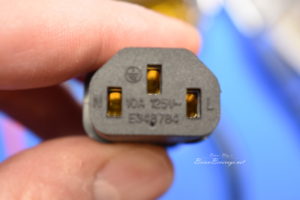
Labeled connector L, N, Ground - With the end of the wire off and stripped now set your multimeter to continuity so that it will beep when you connect each end to the same wire. You will want to insert one side of the multimeter into the plug and then find the corresponding wire. Note the color of the wire and what plug you were inserted into L, N, or Ground. (Live, Neutral, Ground)
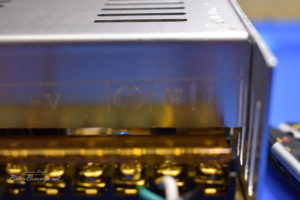
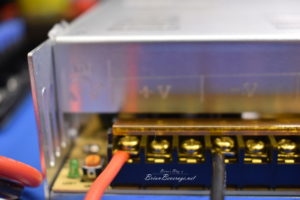
Stripped end to determine the polarity - Now that you know what color wire corresponds to what polarity you are ready to connect those wires to the power supply. in my case, they are labeled the same as the plug so I just unscrew those screws and place the wires in the correct locations. You should double and triple check to make certain you have the polarity correct. If not you could burn up the power supply or worse yet start a fire!
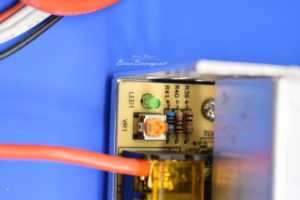
Power cable to the Power supply - once you have double and triple checked your wiring you are ready to plug it into the wall outlet. Plug it into the wall outlet and see if you get lights on your power supply. In my case, I get a green light.
- My power supply has a voltage adjuster on the left side by the green light. Put your multimeter on DC voltage and the leads on the V+, V- and read the DC voltage. I had to adjust mine down to below 24 volts. I heard that if the charger is getting more than 24 volts it will intermittently say “abnormal battery connection”. I wanted to stop this before it starts so I adjusted my voltage down to 23.8
Voltage Adjuster - Now you will need to build the XT60 connection for the input power to the charger. I went with a 14 AWG wire that will carry the 14 AMP max current without issue. Before soldering on the XT60 MAKE CERTAIN OF POLARITY! Once you have the XT60 soldered you will need to strip the other end at whatever length you need. I went with 1.5 feet of wire for the input pigtail that will be enough to mount it like I want on the Bat-Safe.
XT60 Pigtail connection to the power supply 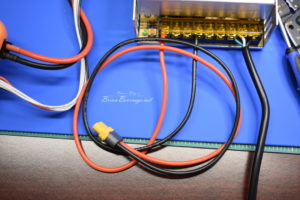
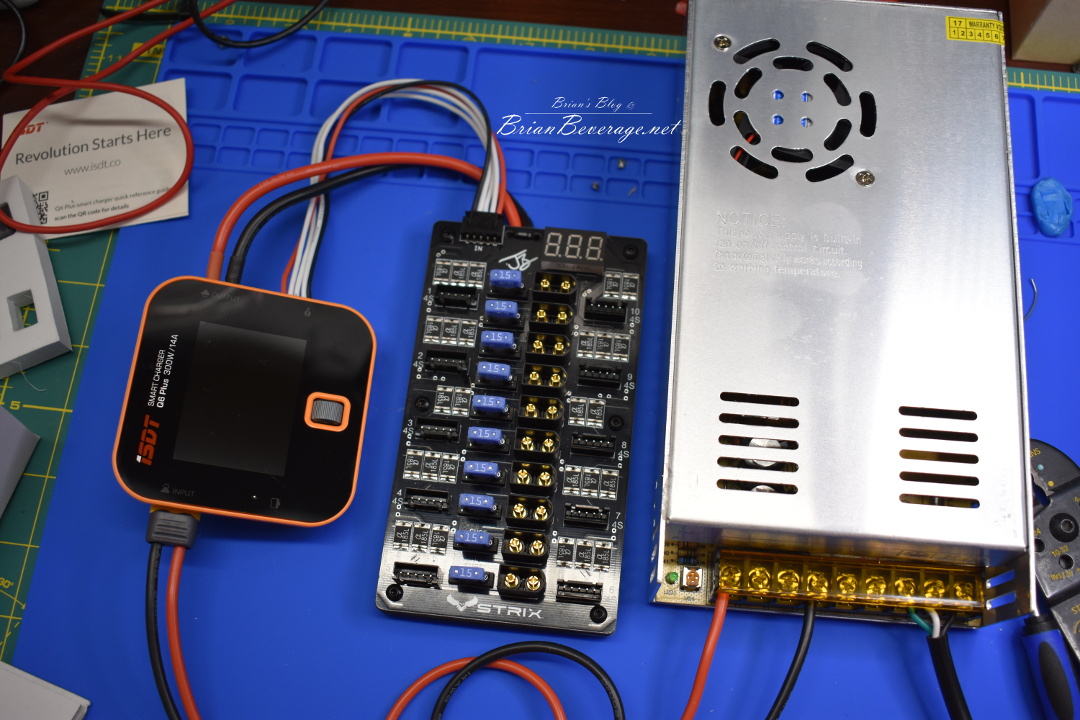
XT60 pigtail connected to the power supply - setup the charger with whatever settings you need and connect your charging board.
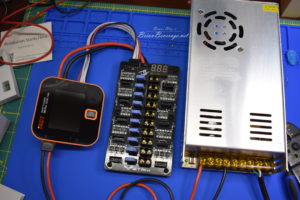
Complete ISDT Q6 Plus connections - HAPPY CHARGING!


I hope this was a helpful post. I welcome feedback. The video below has more step by step instructions and you can watch how I followed this process.
What this setup looks like while charging.
This is working well but I look forward to getting it all set up with the Bat-Safe. That will be the next blog and project is working out a configuration that can be mobile for field charging if needed. Below is the complete video of the above wiring process and the rationale behind why I wired it up like it is and how to determine what wires go where. I hope someone finds it useful. Enjoy and happy flying!
Video Instructions: